Platform User Guide
The system interface may change, and the following screenshots are for reference only.
Login and Registration
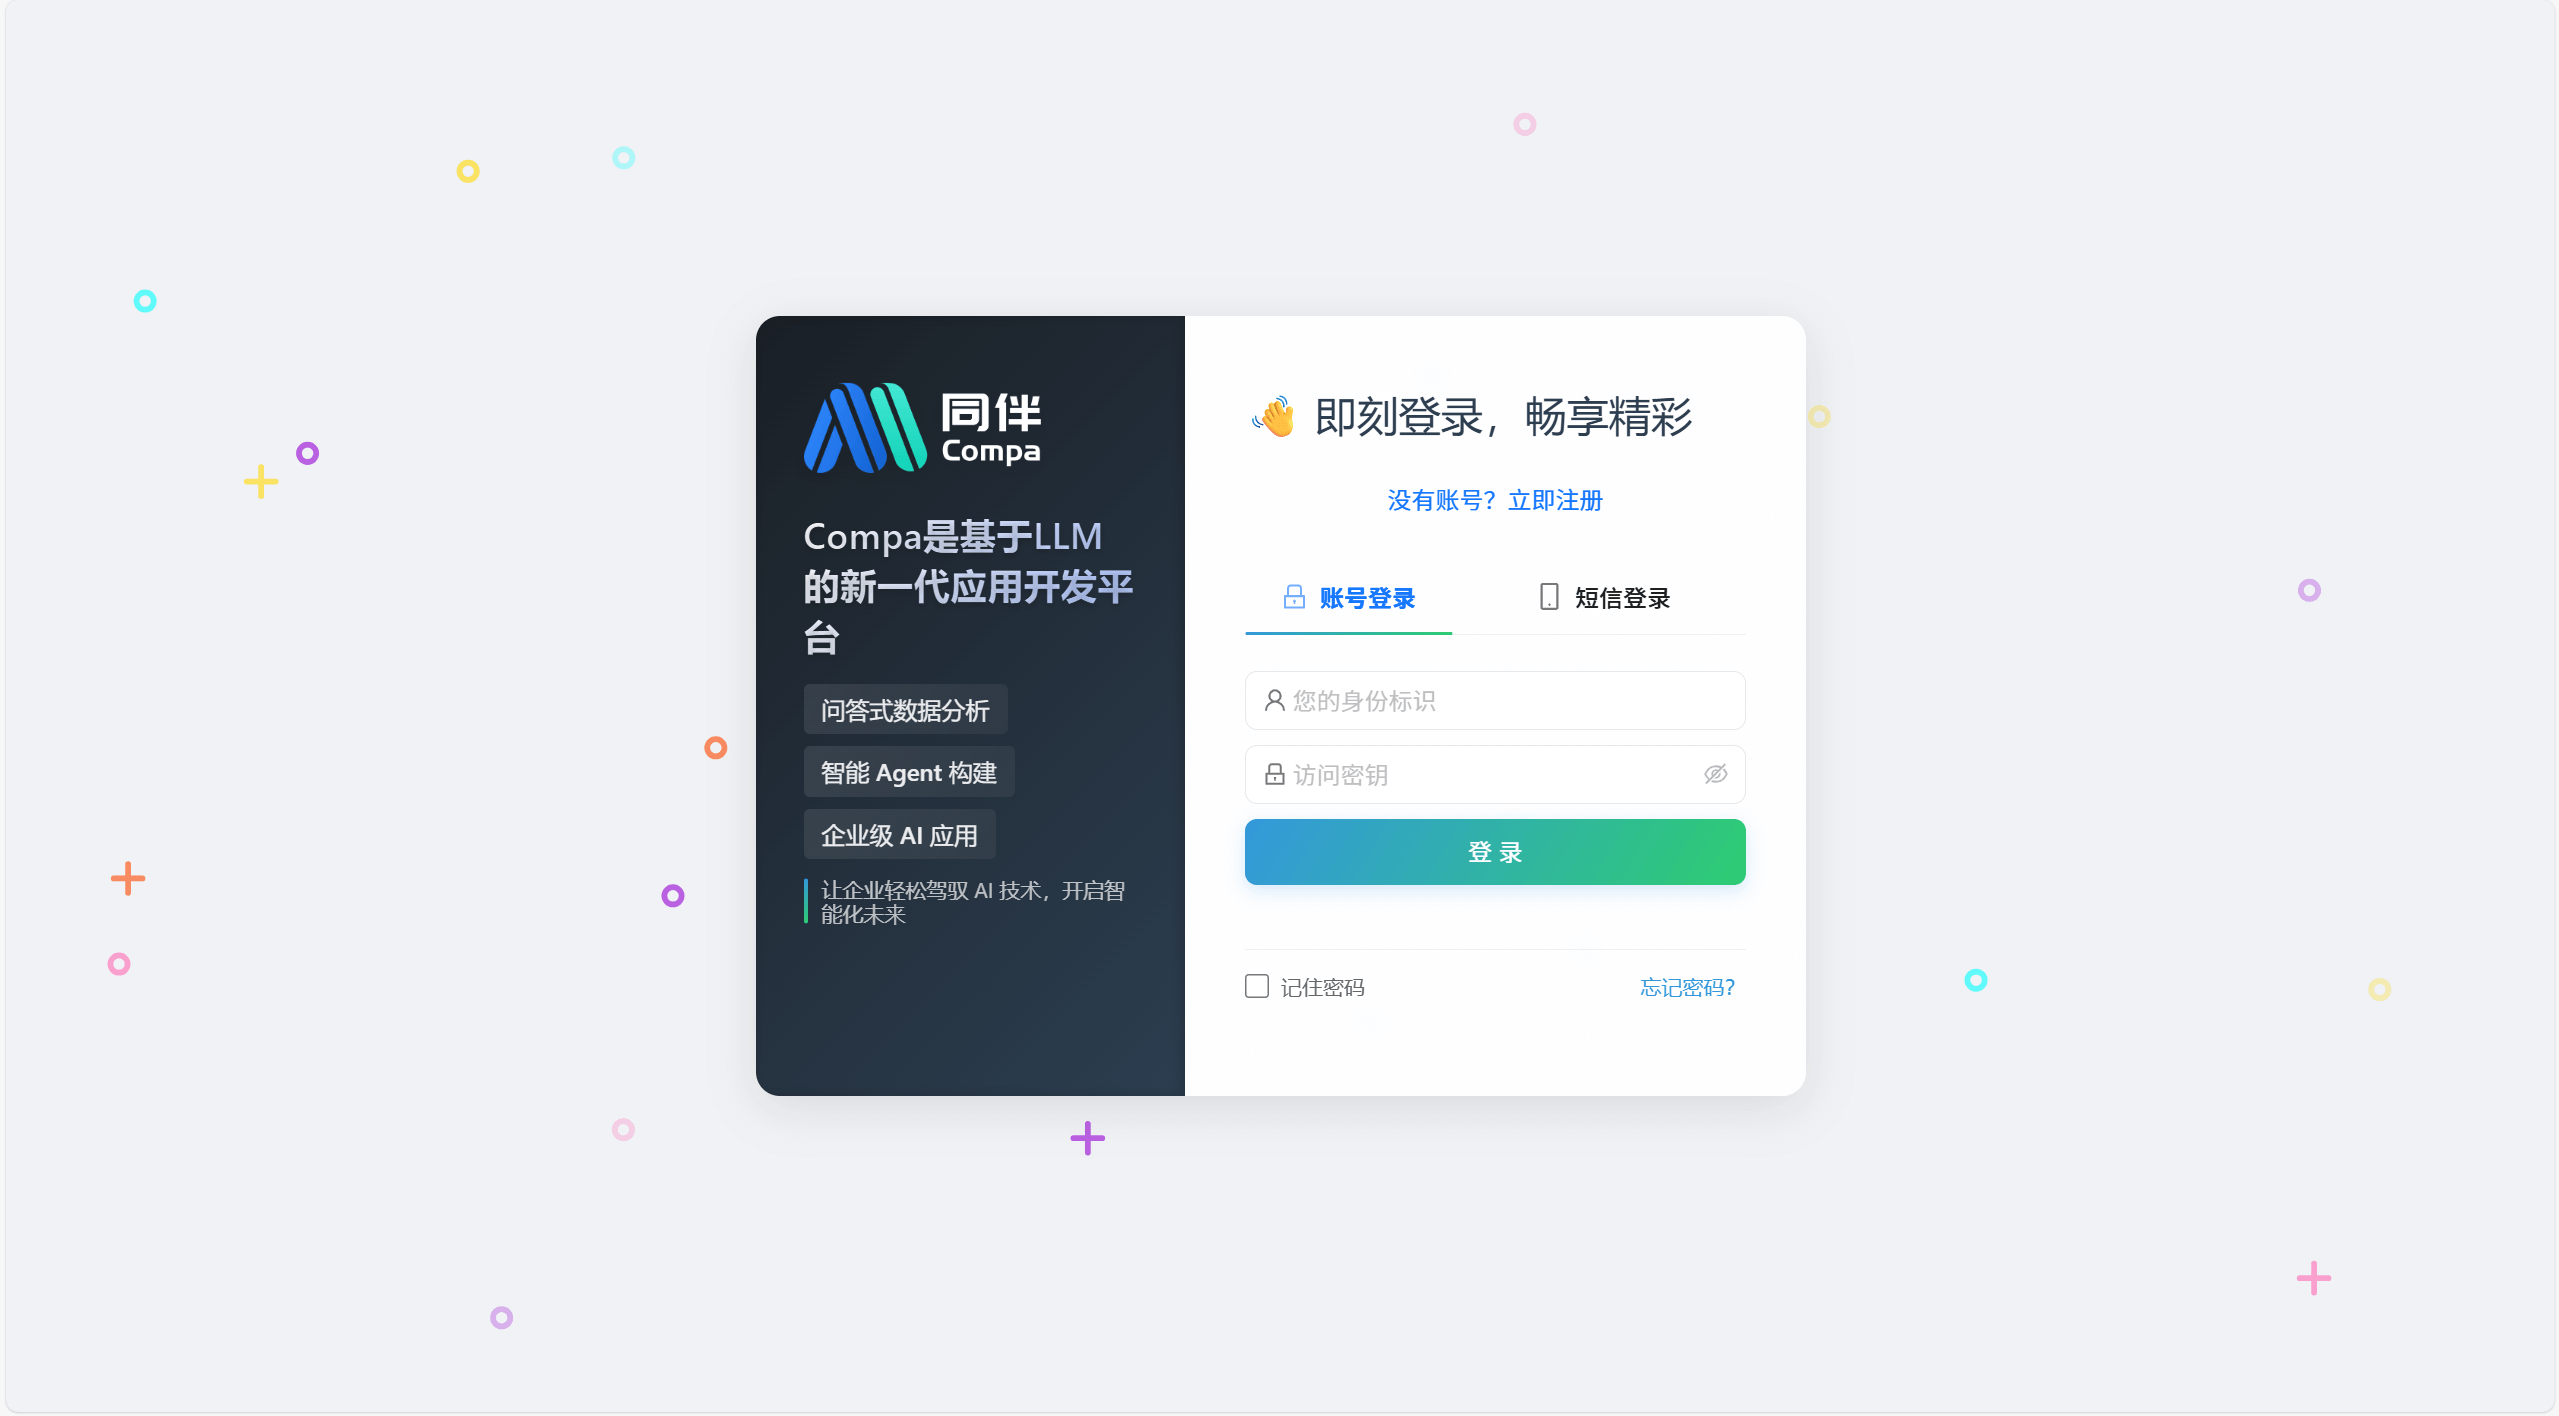
Login
If you already have an account, use it to log in.
Registration
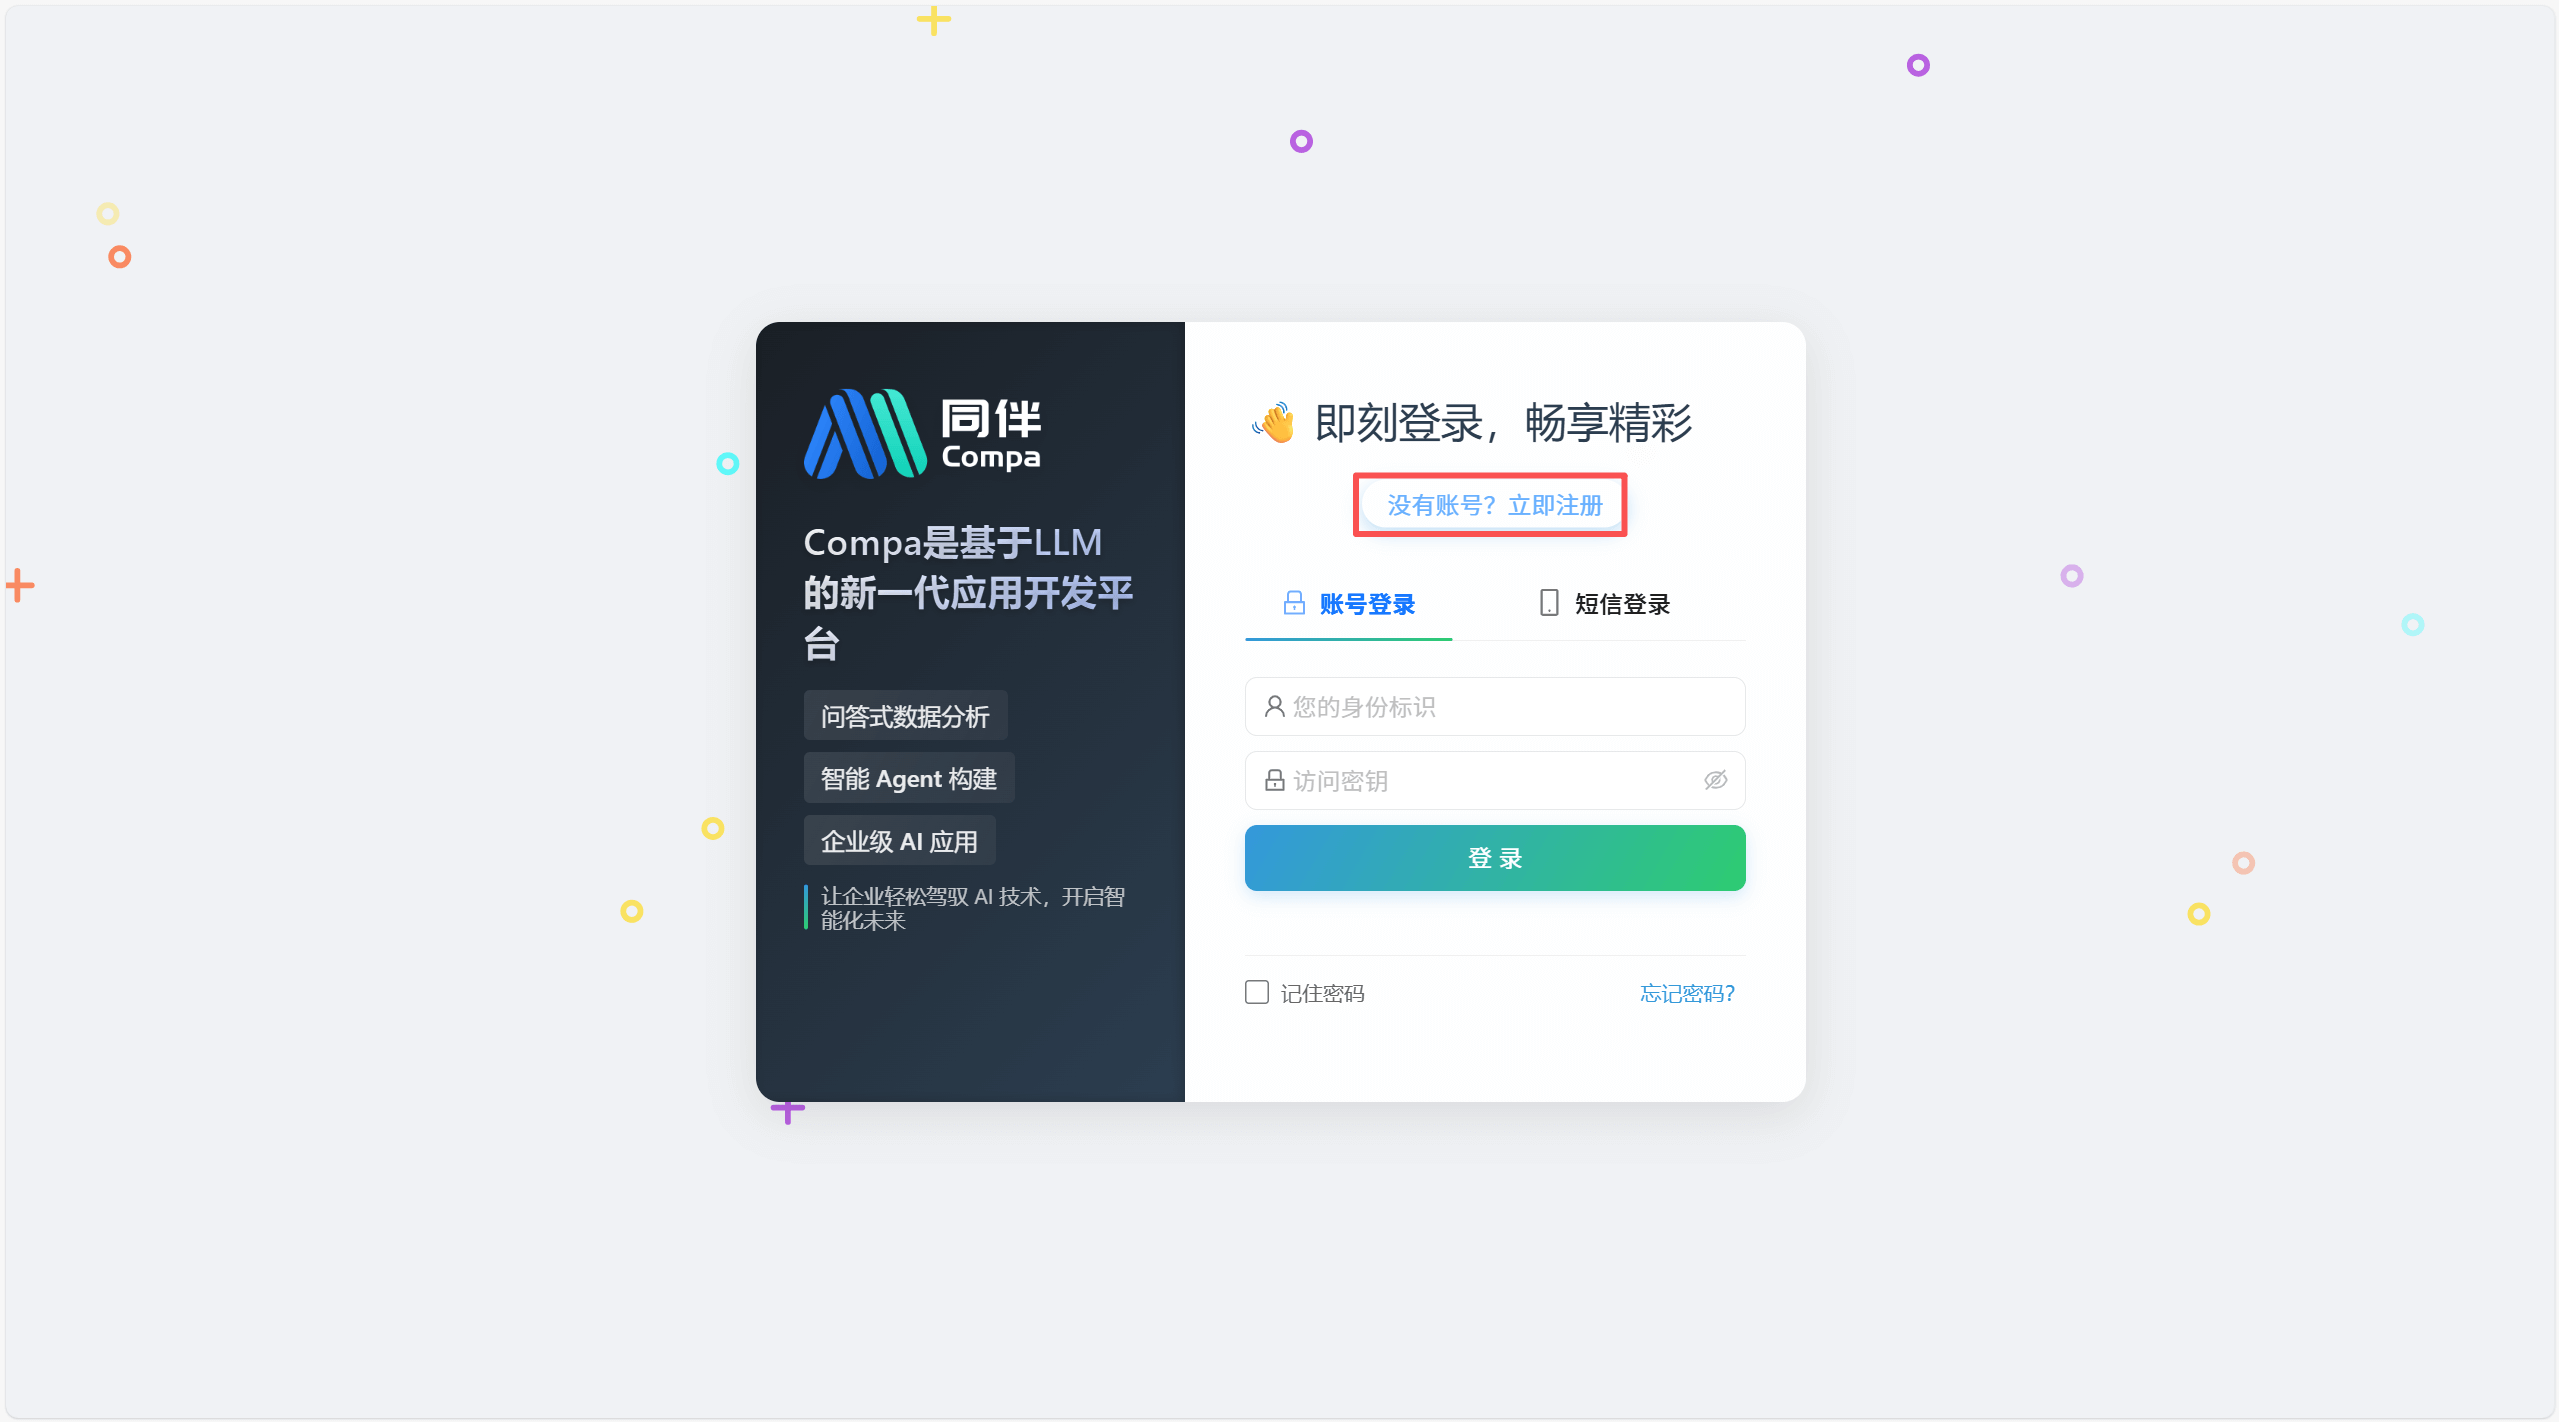
If you don't have an account, you need to register first (same address as Login).
Click the "Don't have an account? Register now" button.
Fill in the registration information and click the Register button.
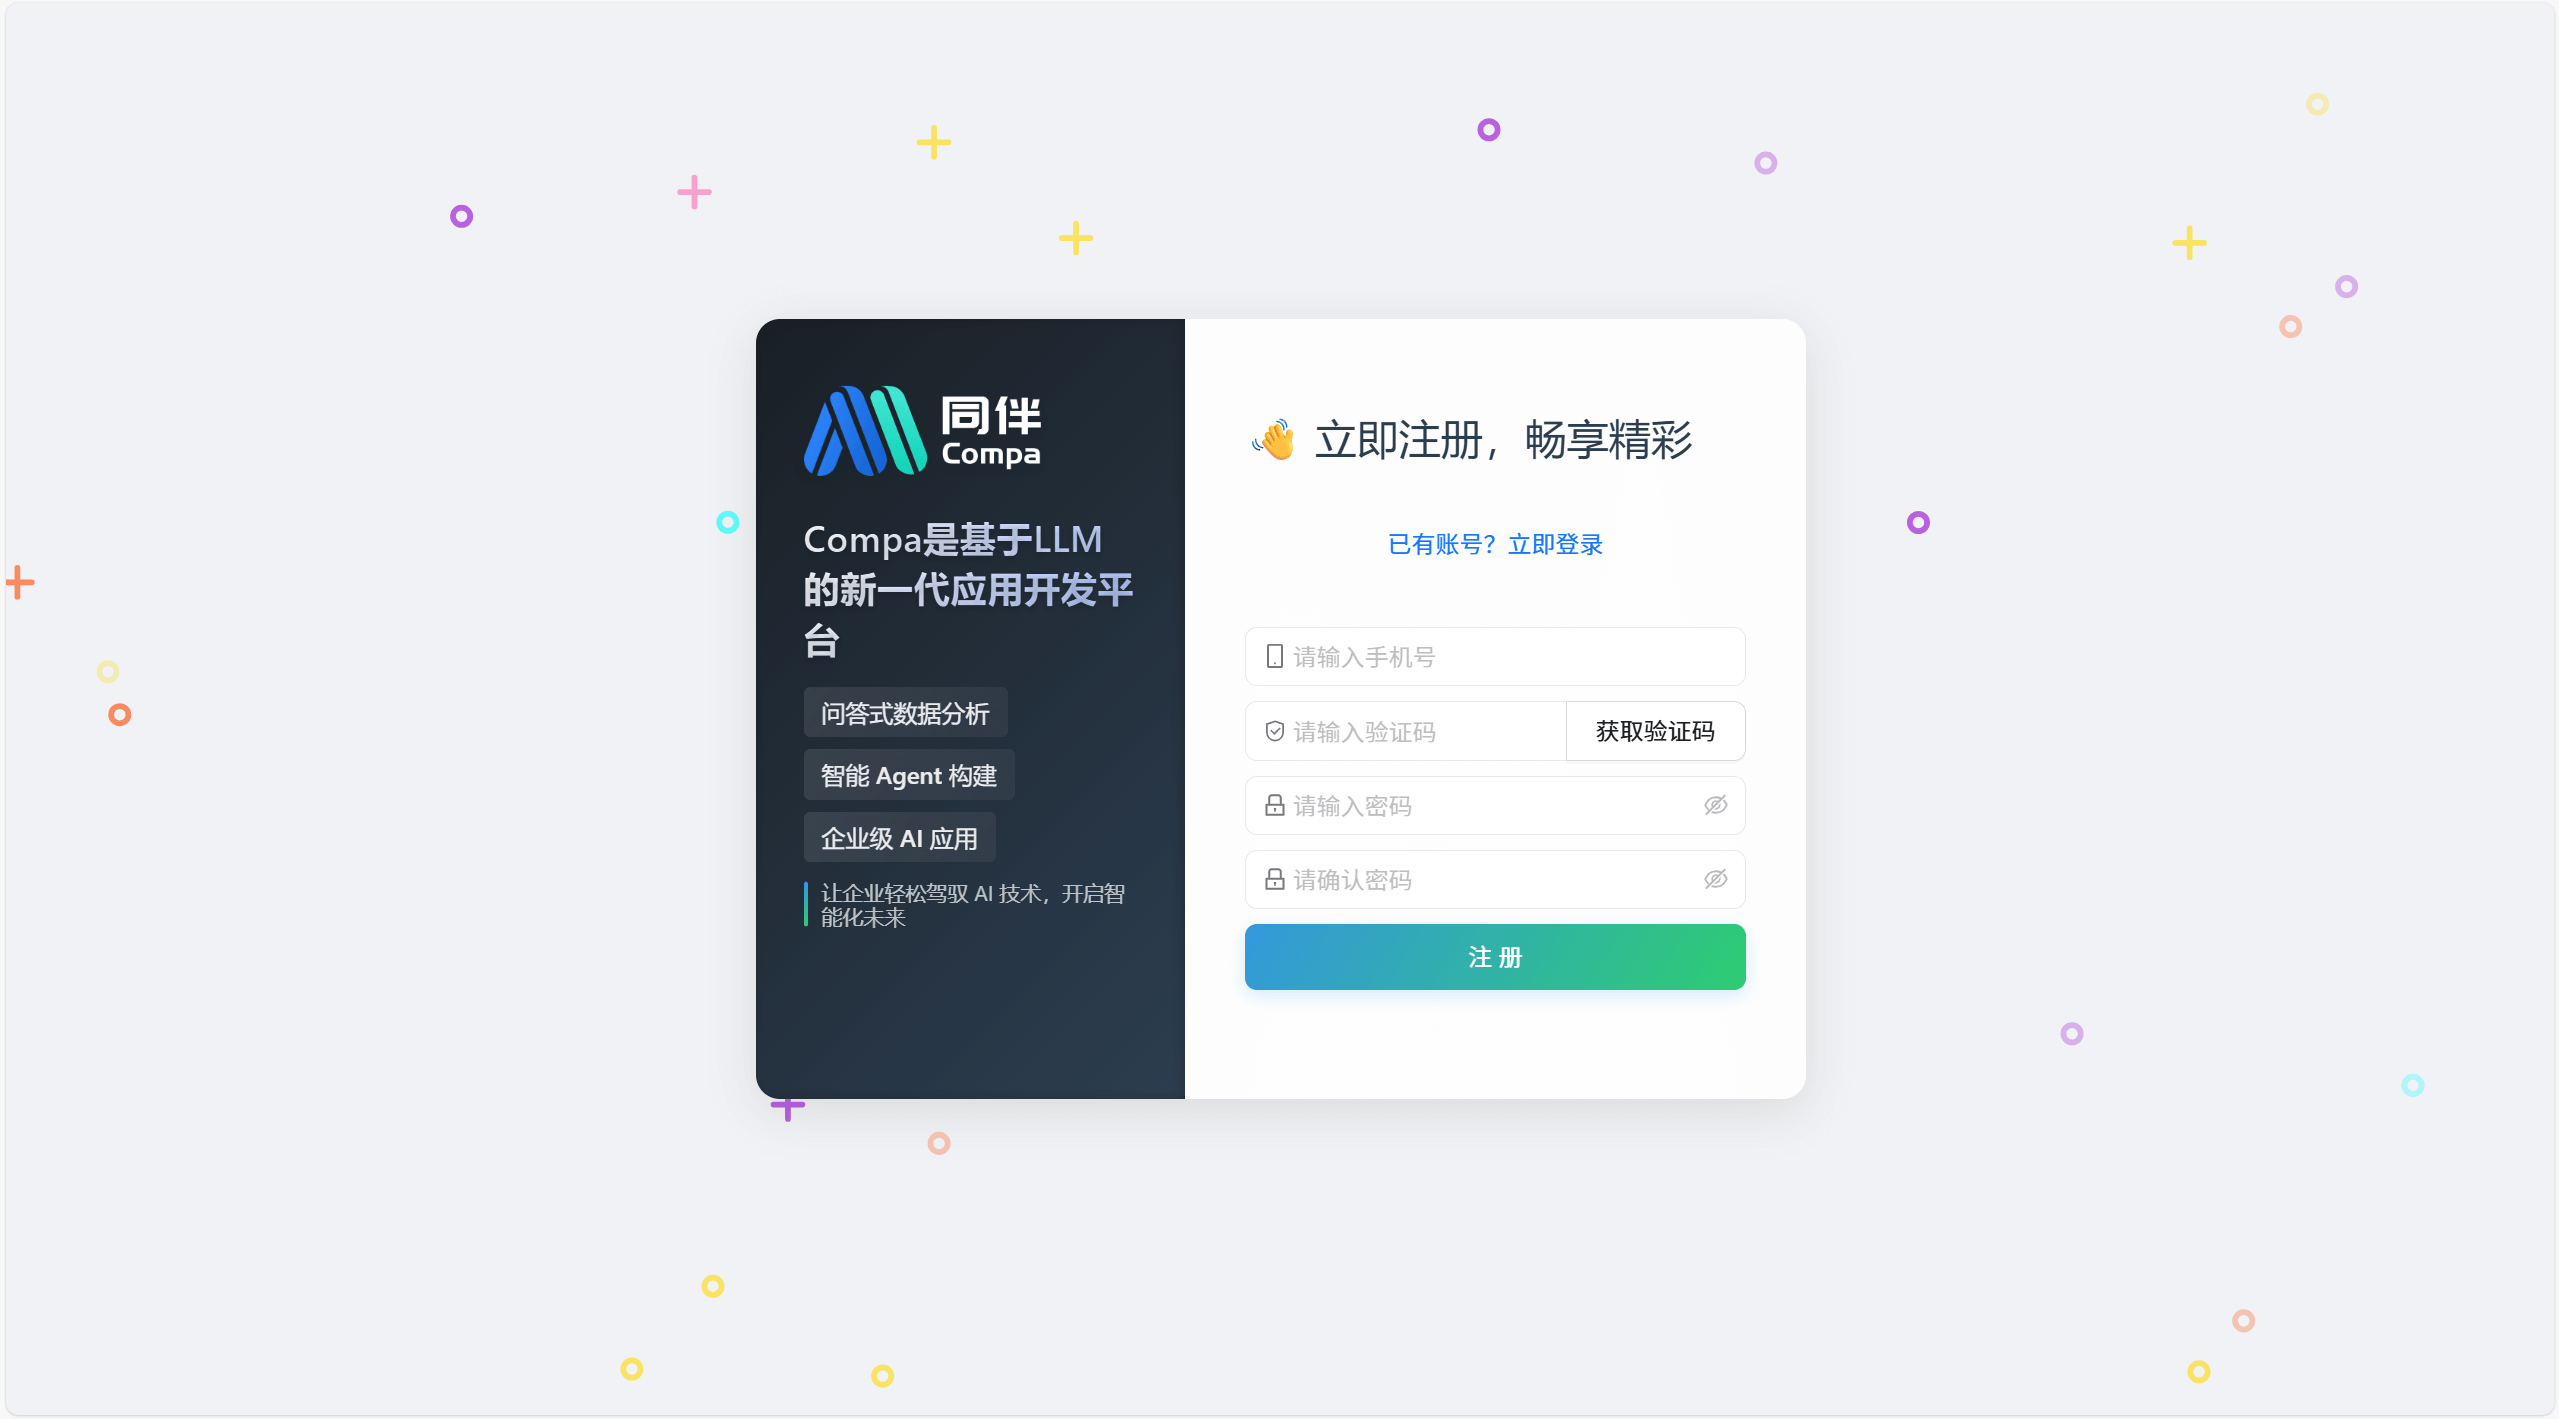
Registration successful.
Create/Join Organization
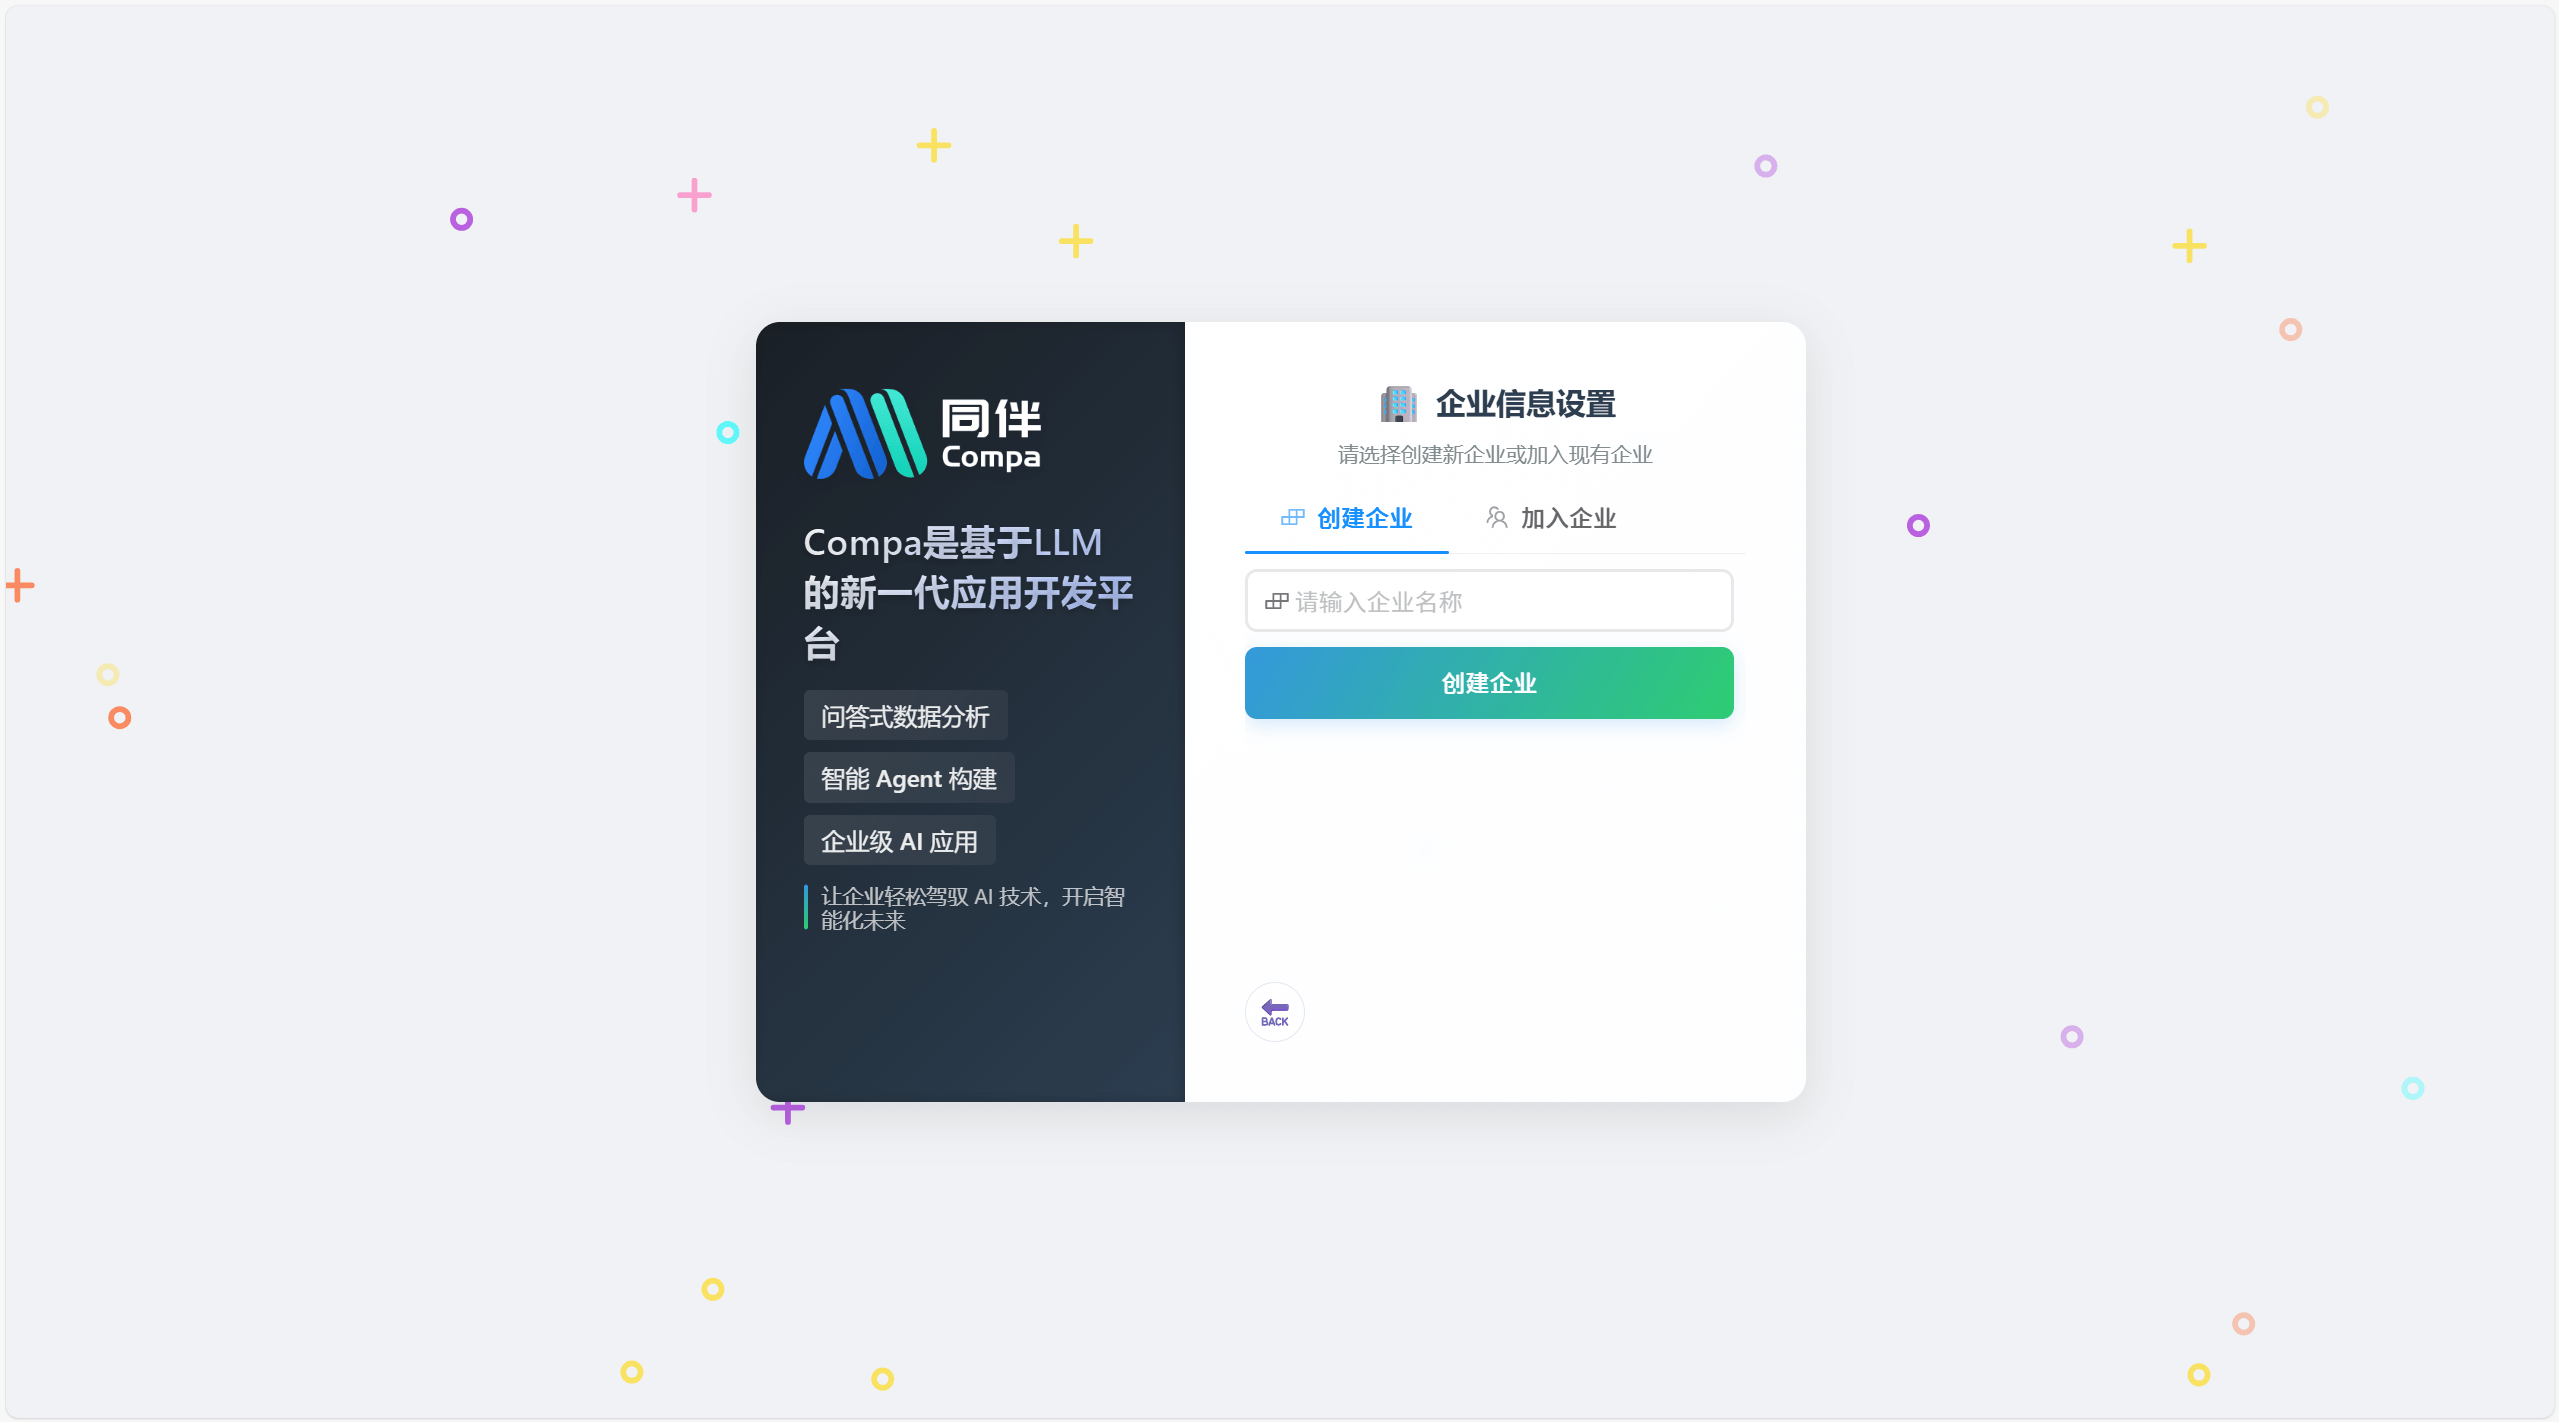
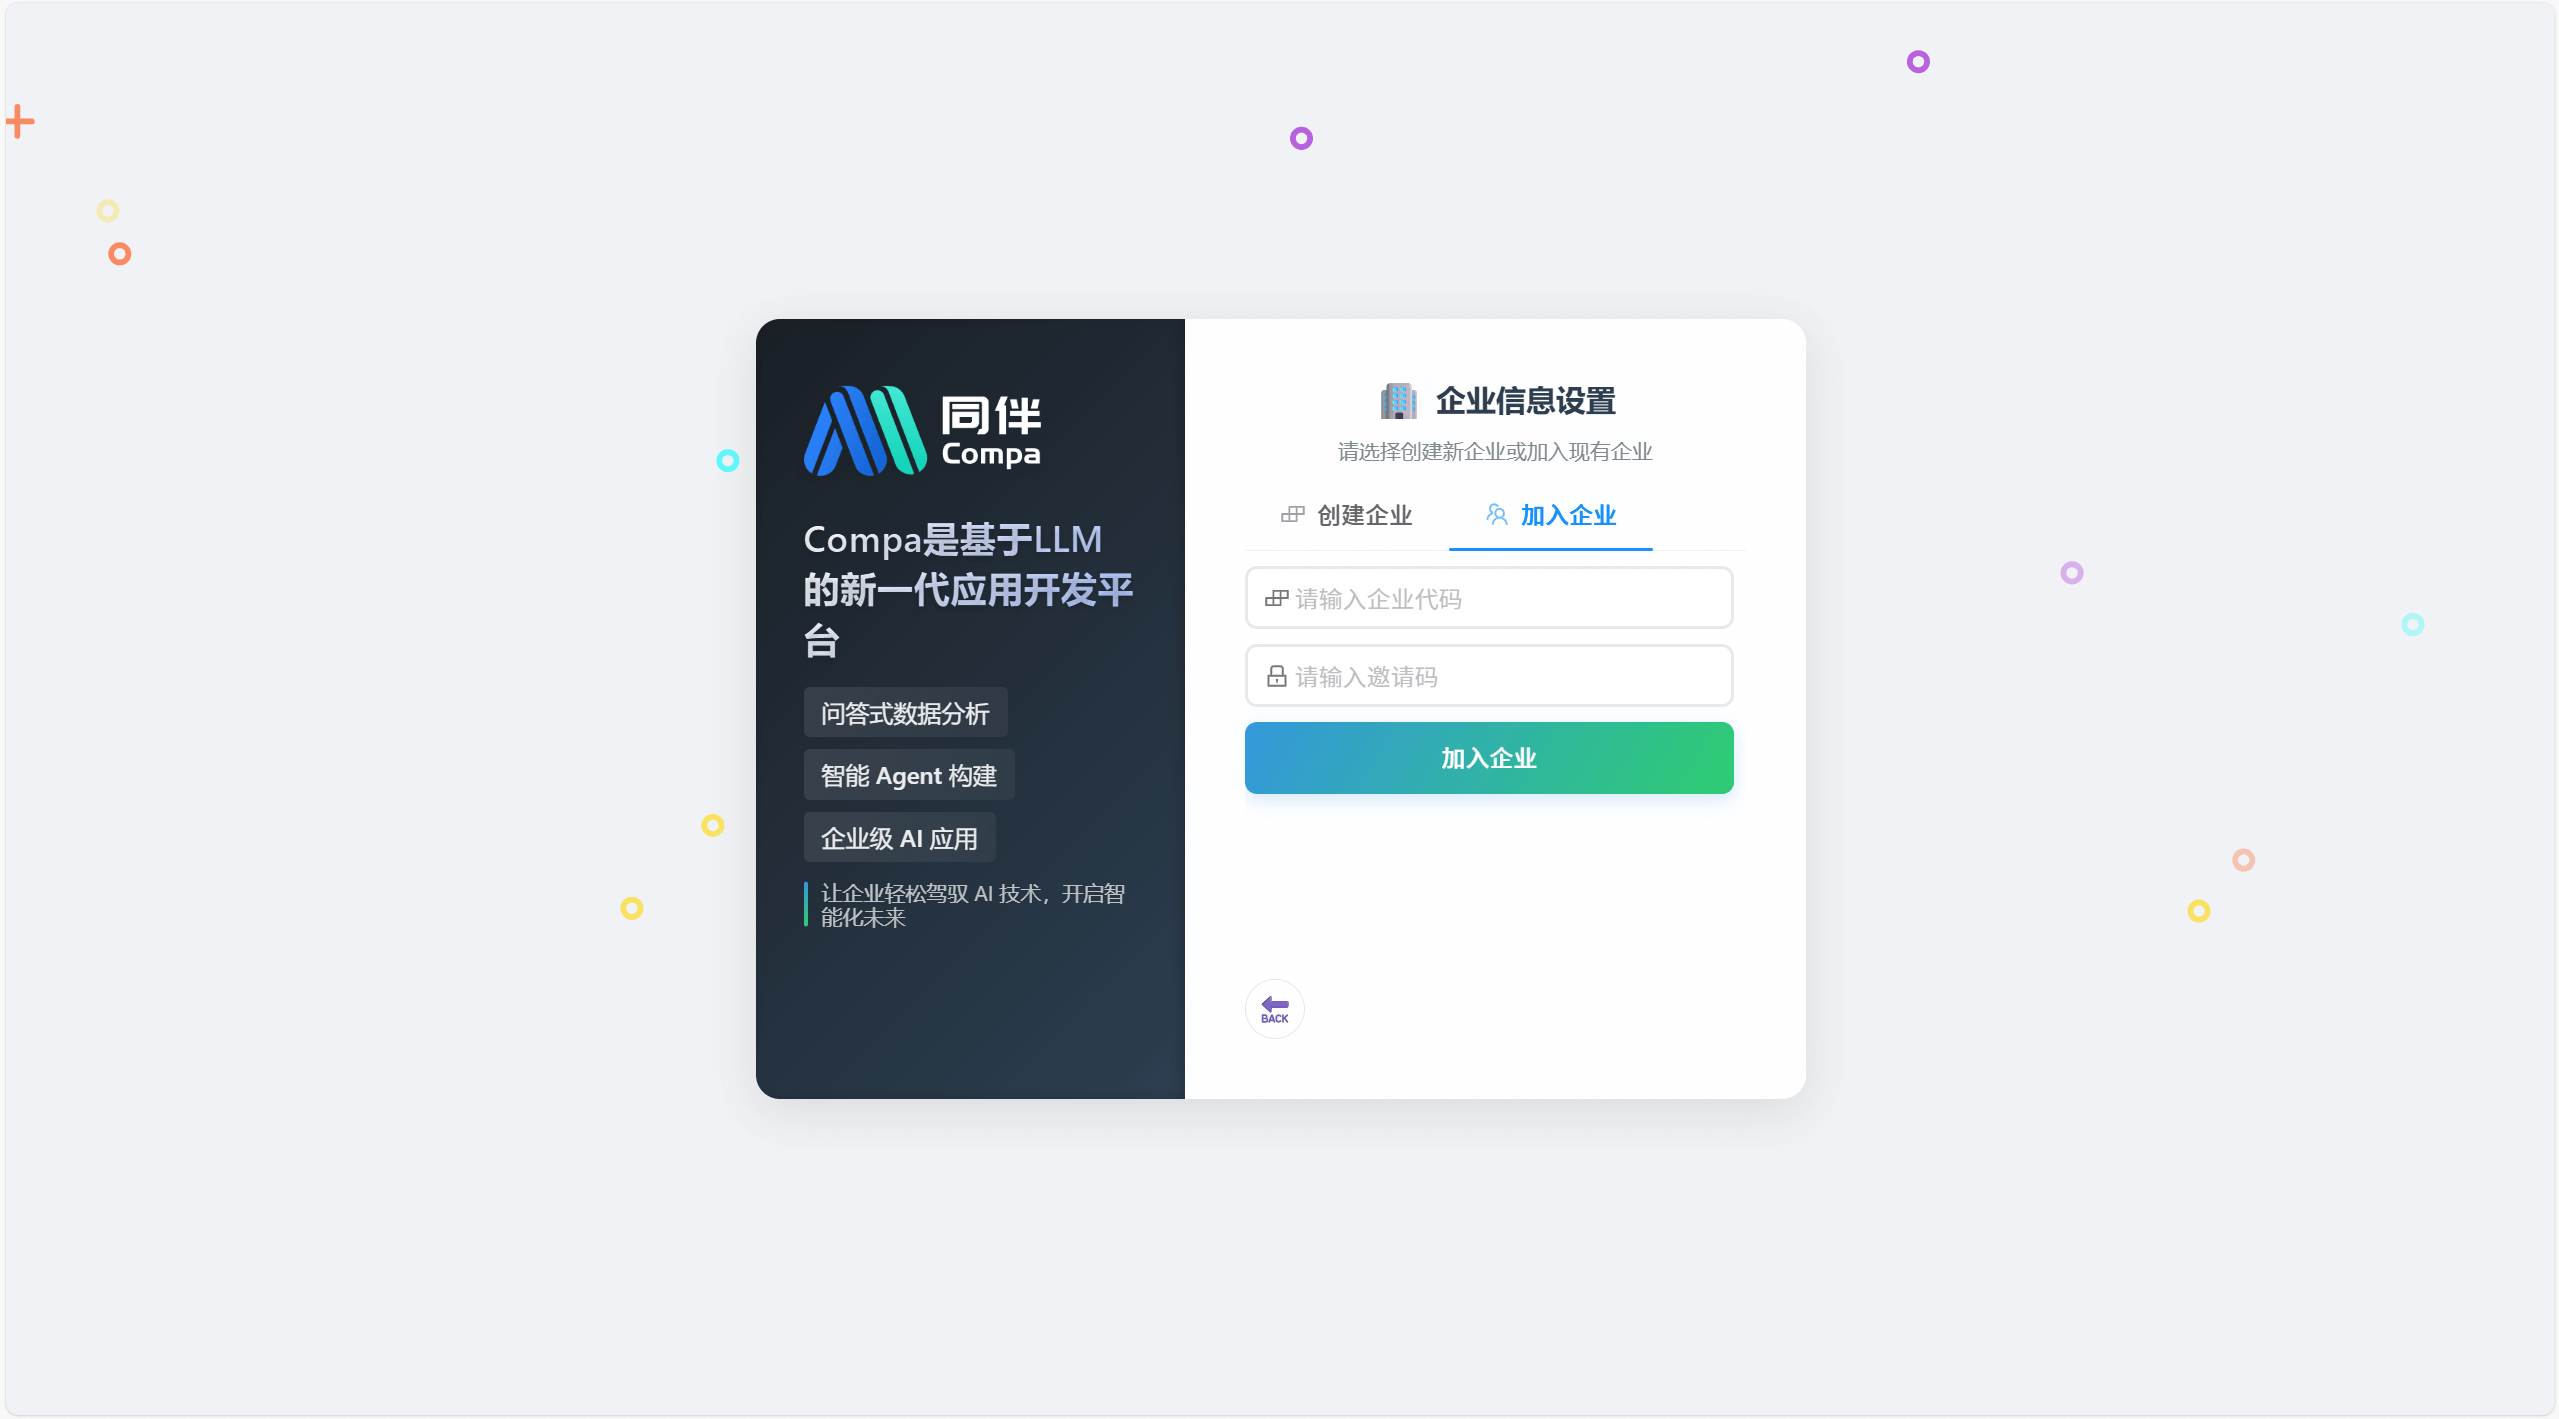
Choose to create an organization or join an organization. If you already have an invitation code, you can join directly; otherwise, you need to create an organization first.

If you choose to create an organization, enter the organization name and click the Create button.
If you choose to join an organization, enter the invitation code and organization code shared by the administrator (for how to obtain the invitation code, refer to Generate Invitation Code).
After successfully creating/joining an organization, you will be redirected to the system interface.
Change Password
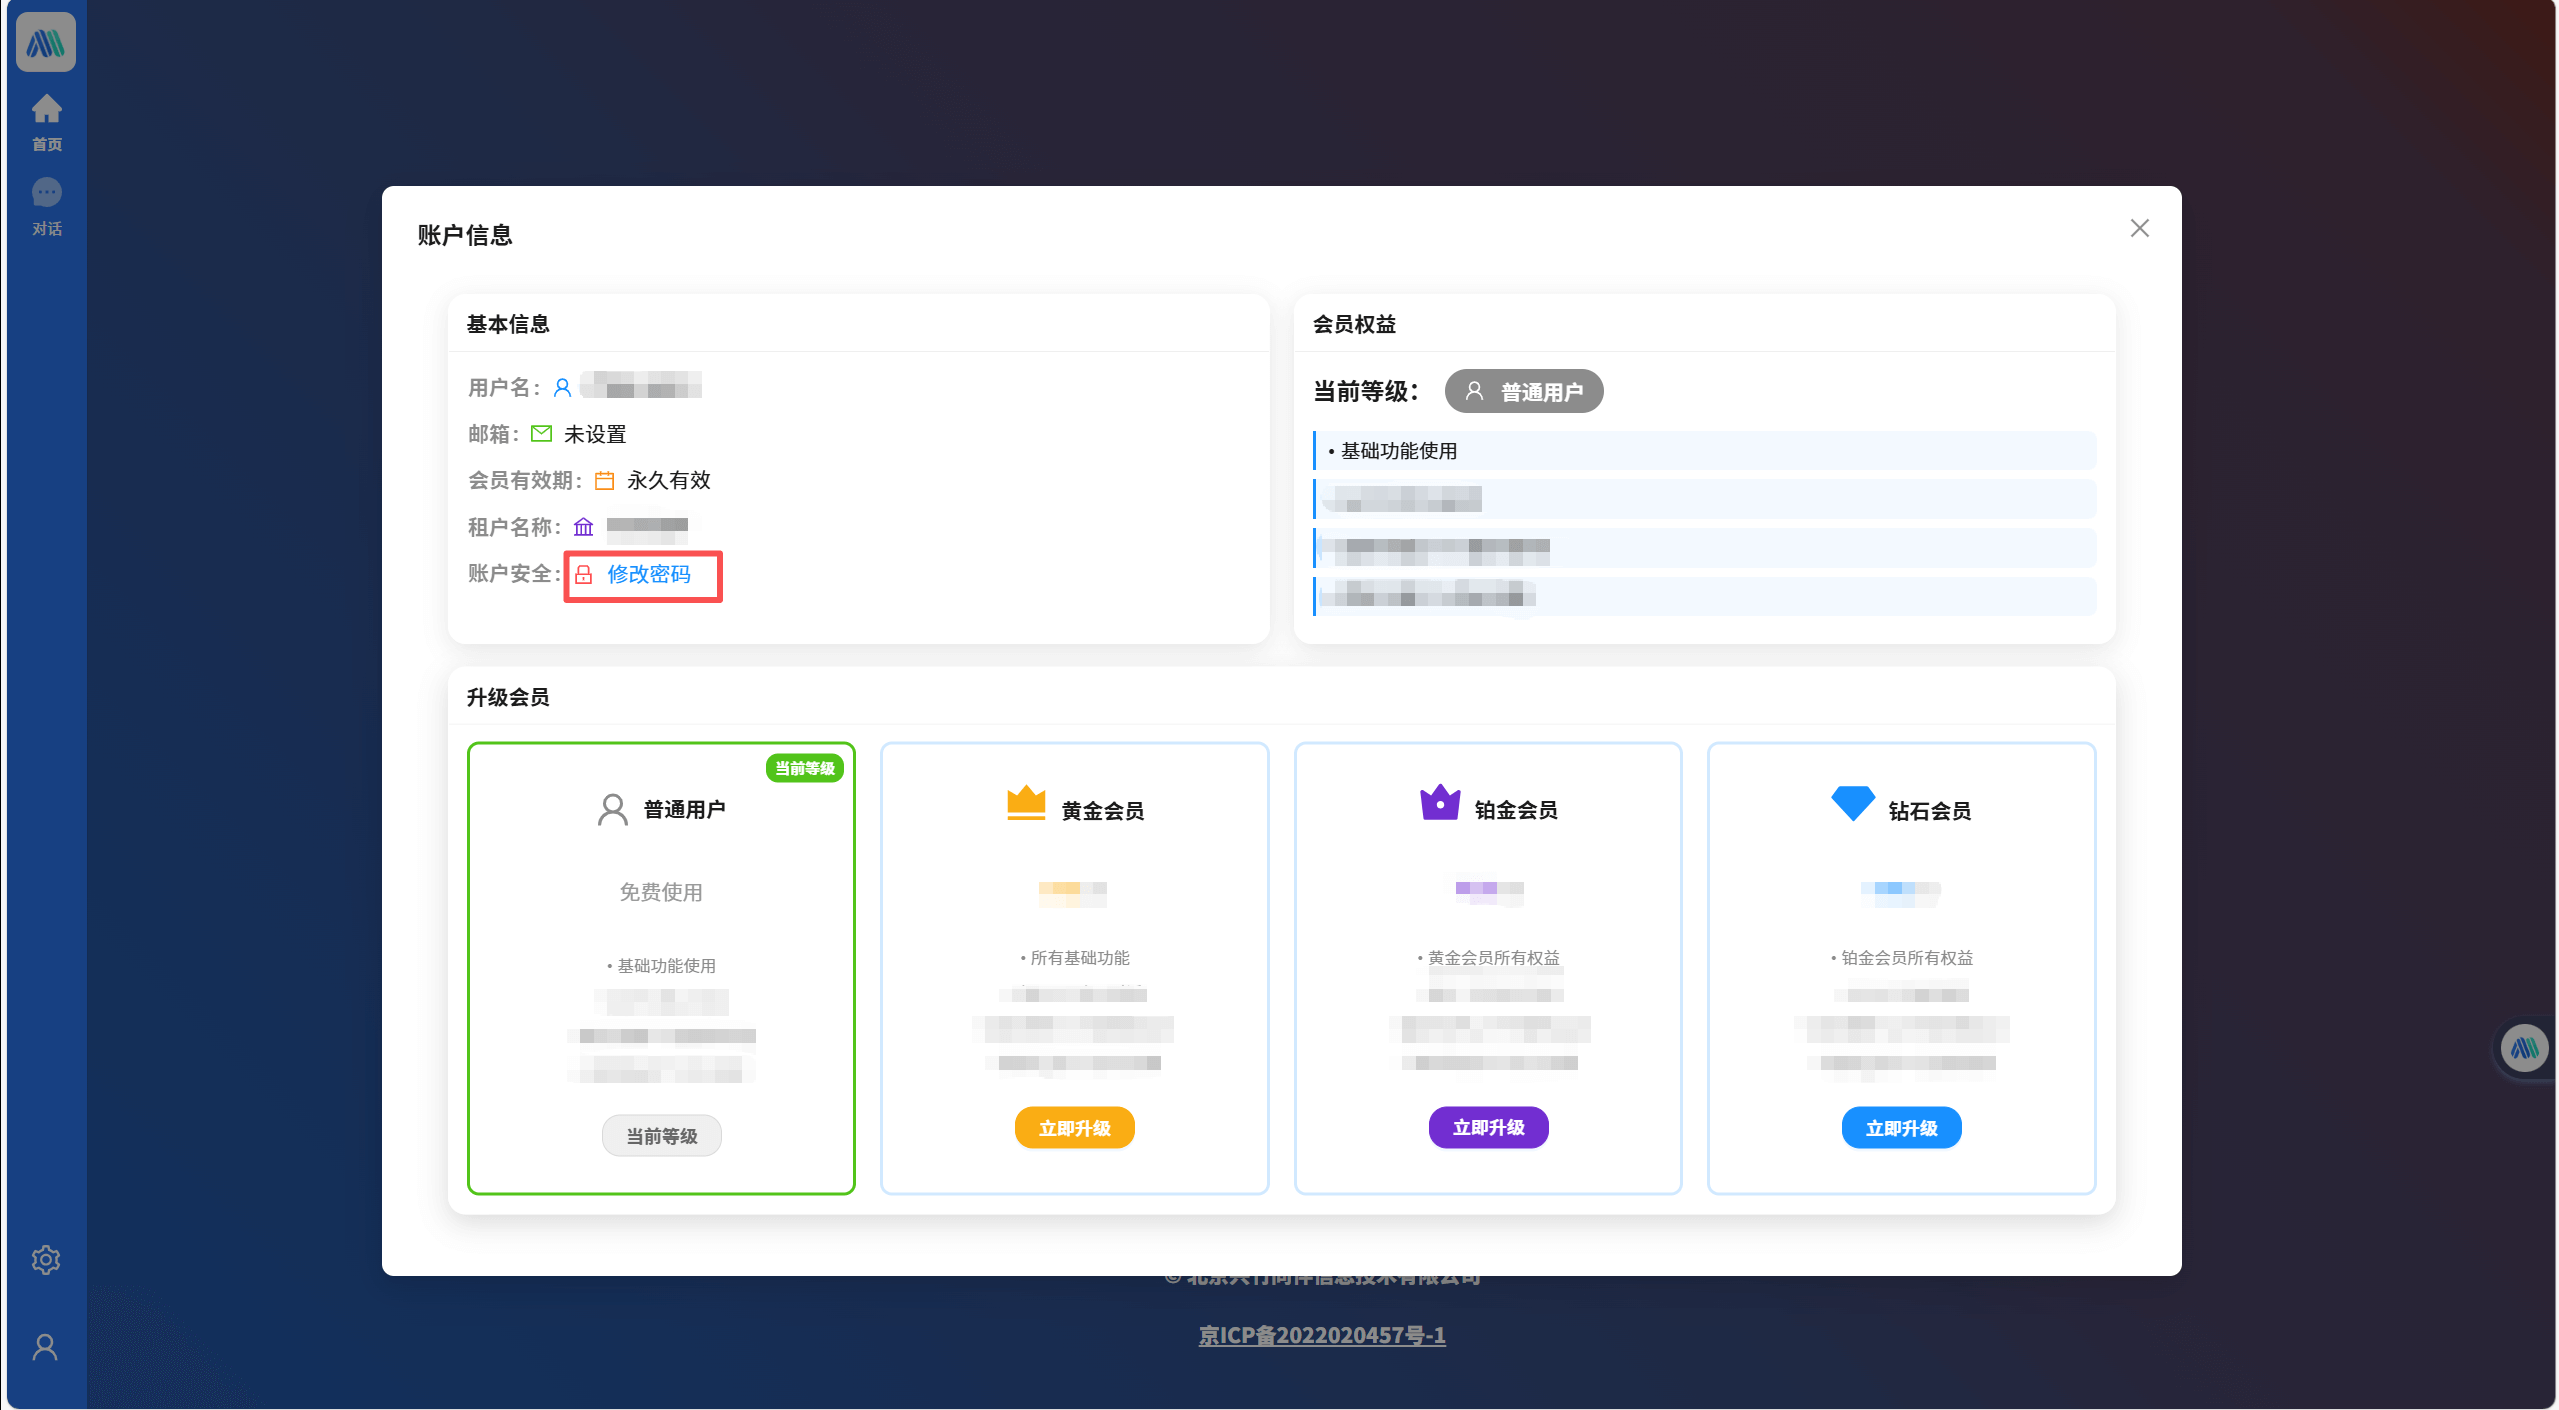
Click the user icon in the bottom left corner of the page and select "Account Information".

On the Account Information page, click the "Change Password" button.
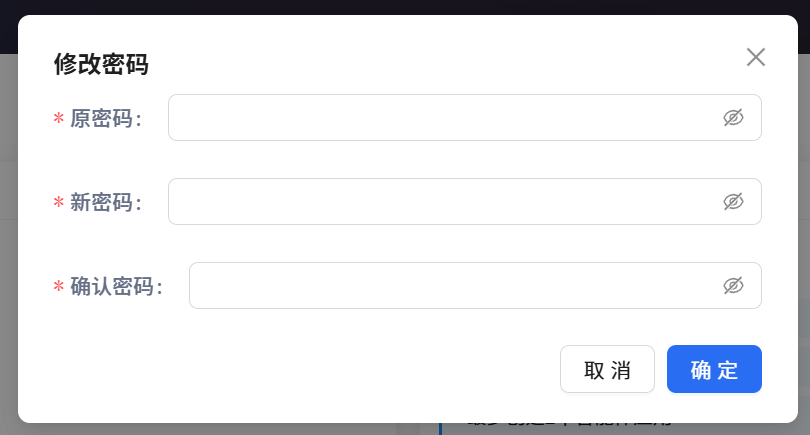
On the Change Password page, enter your old password and new password, then click the "Confirm" button.
Generate Access Token
Usage scenarios:
- When selecting our plugins in the dify plugin market, you need to configure the corresponding access token.
- Note: You need to regenerate the access token when it expires.
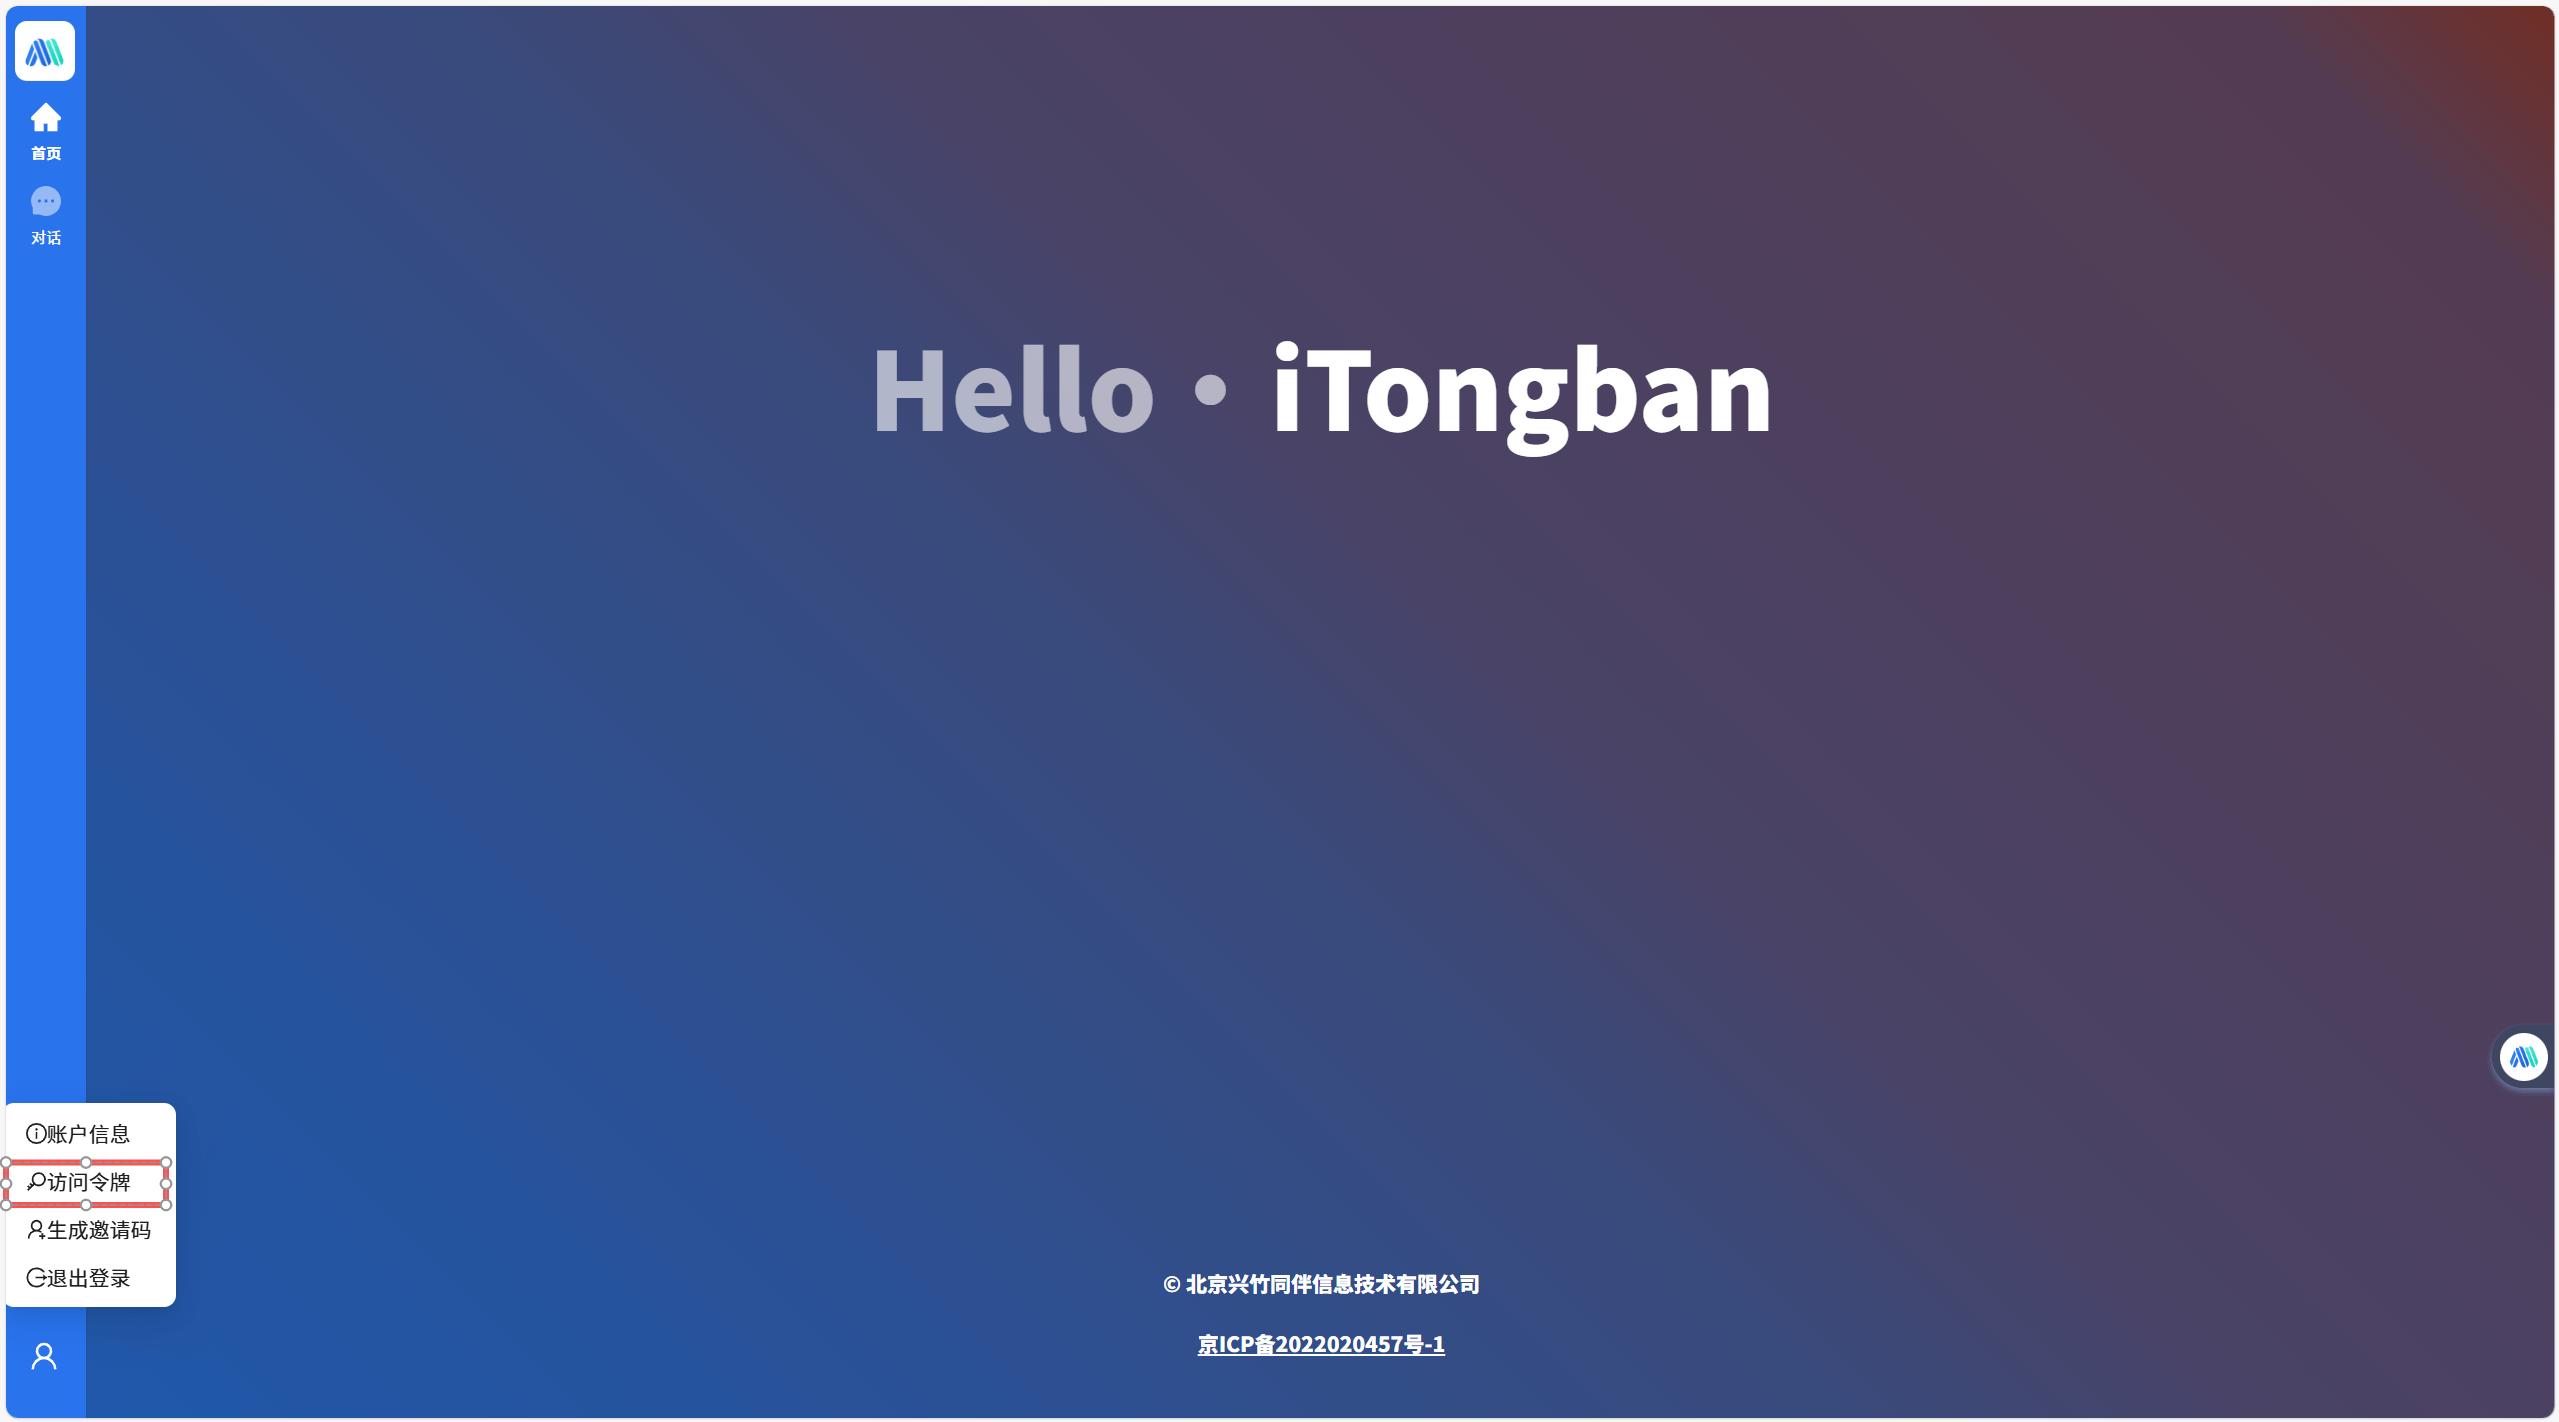
Click the user icon in the bottom left corner of the page and select "Access Token".
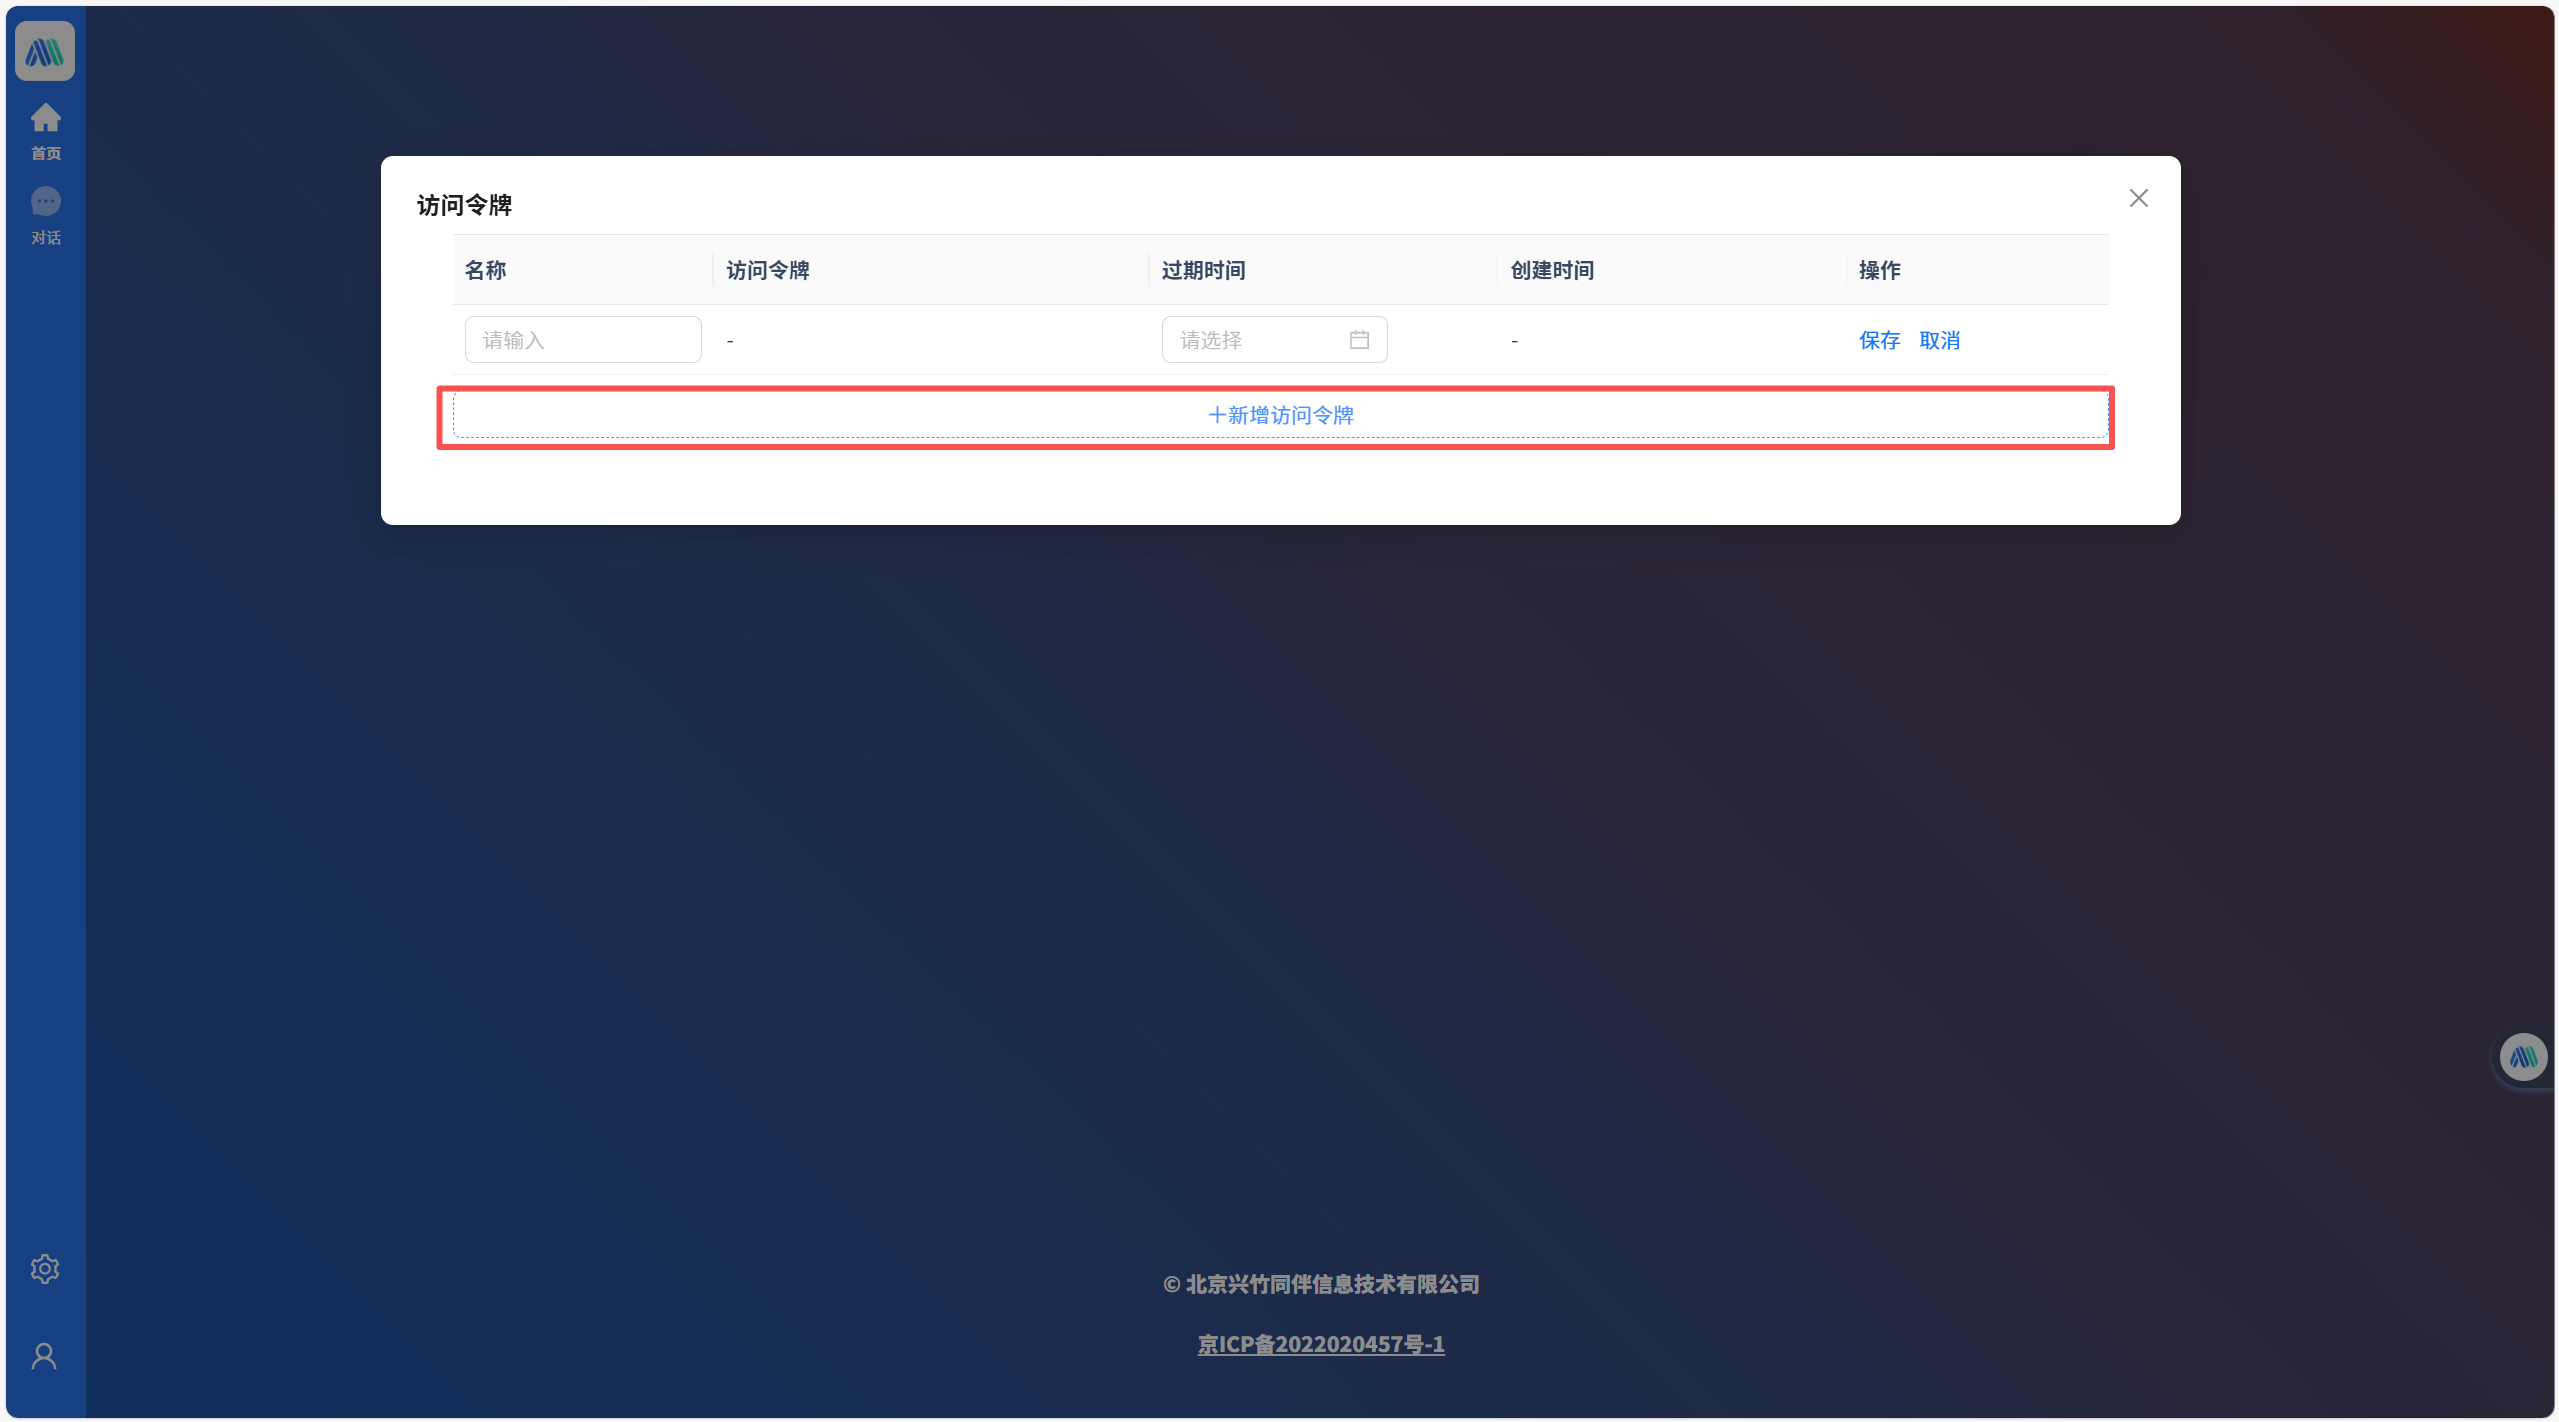
On the Access Token page, click the "Add Access Token" button (create according to actual needs).
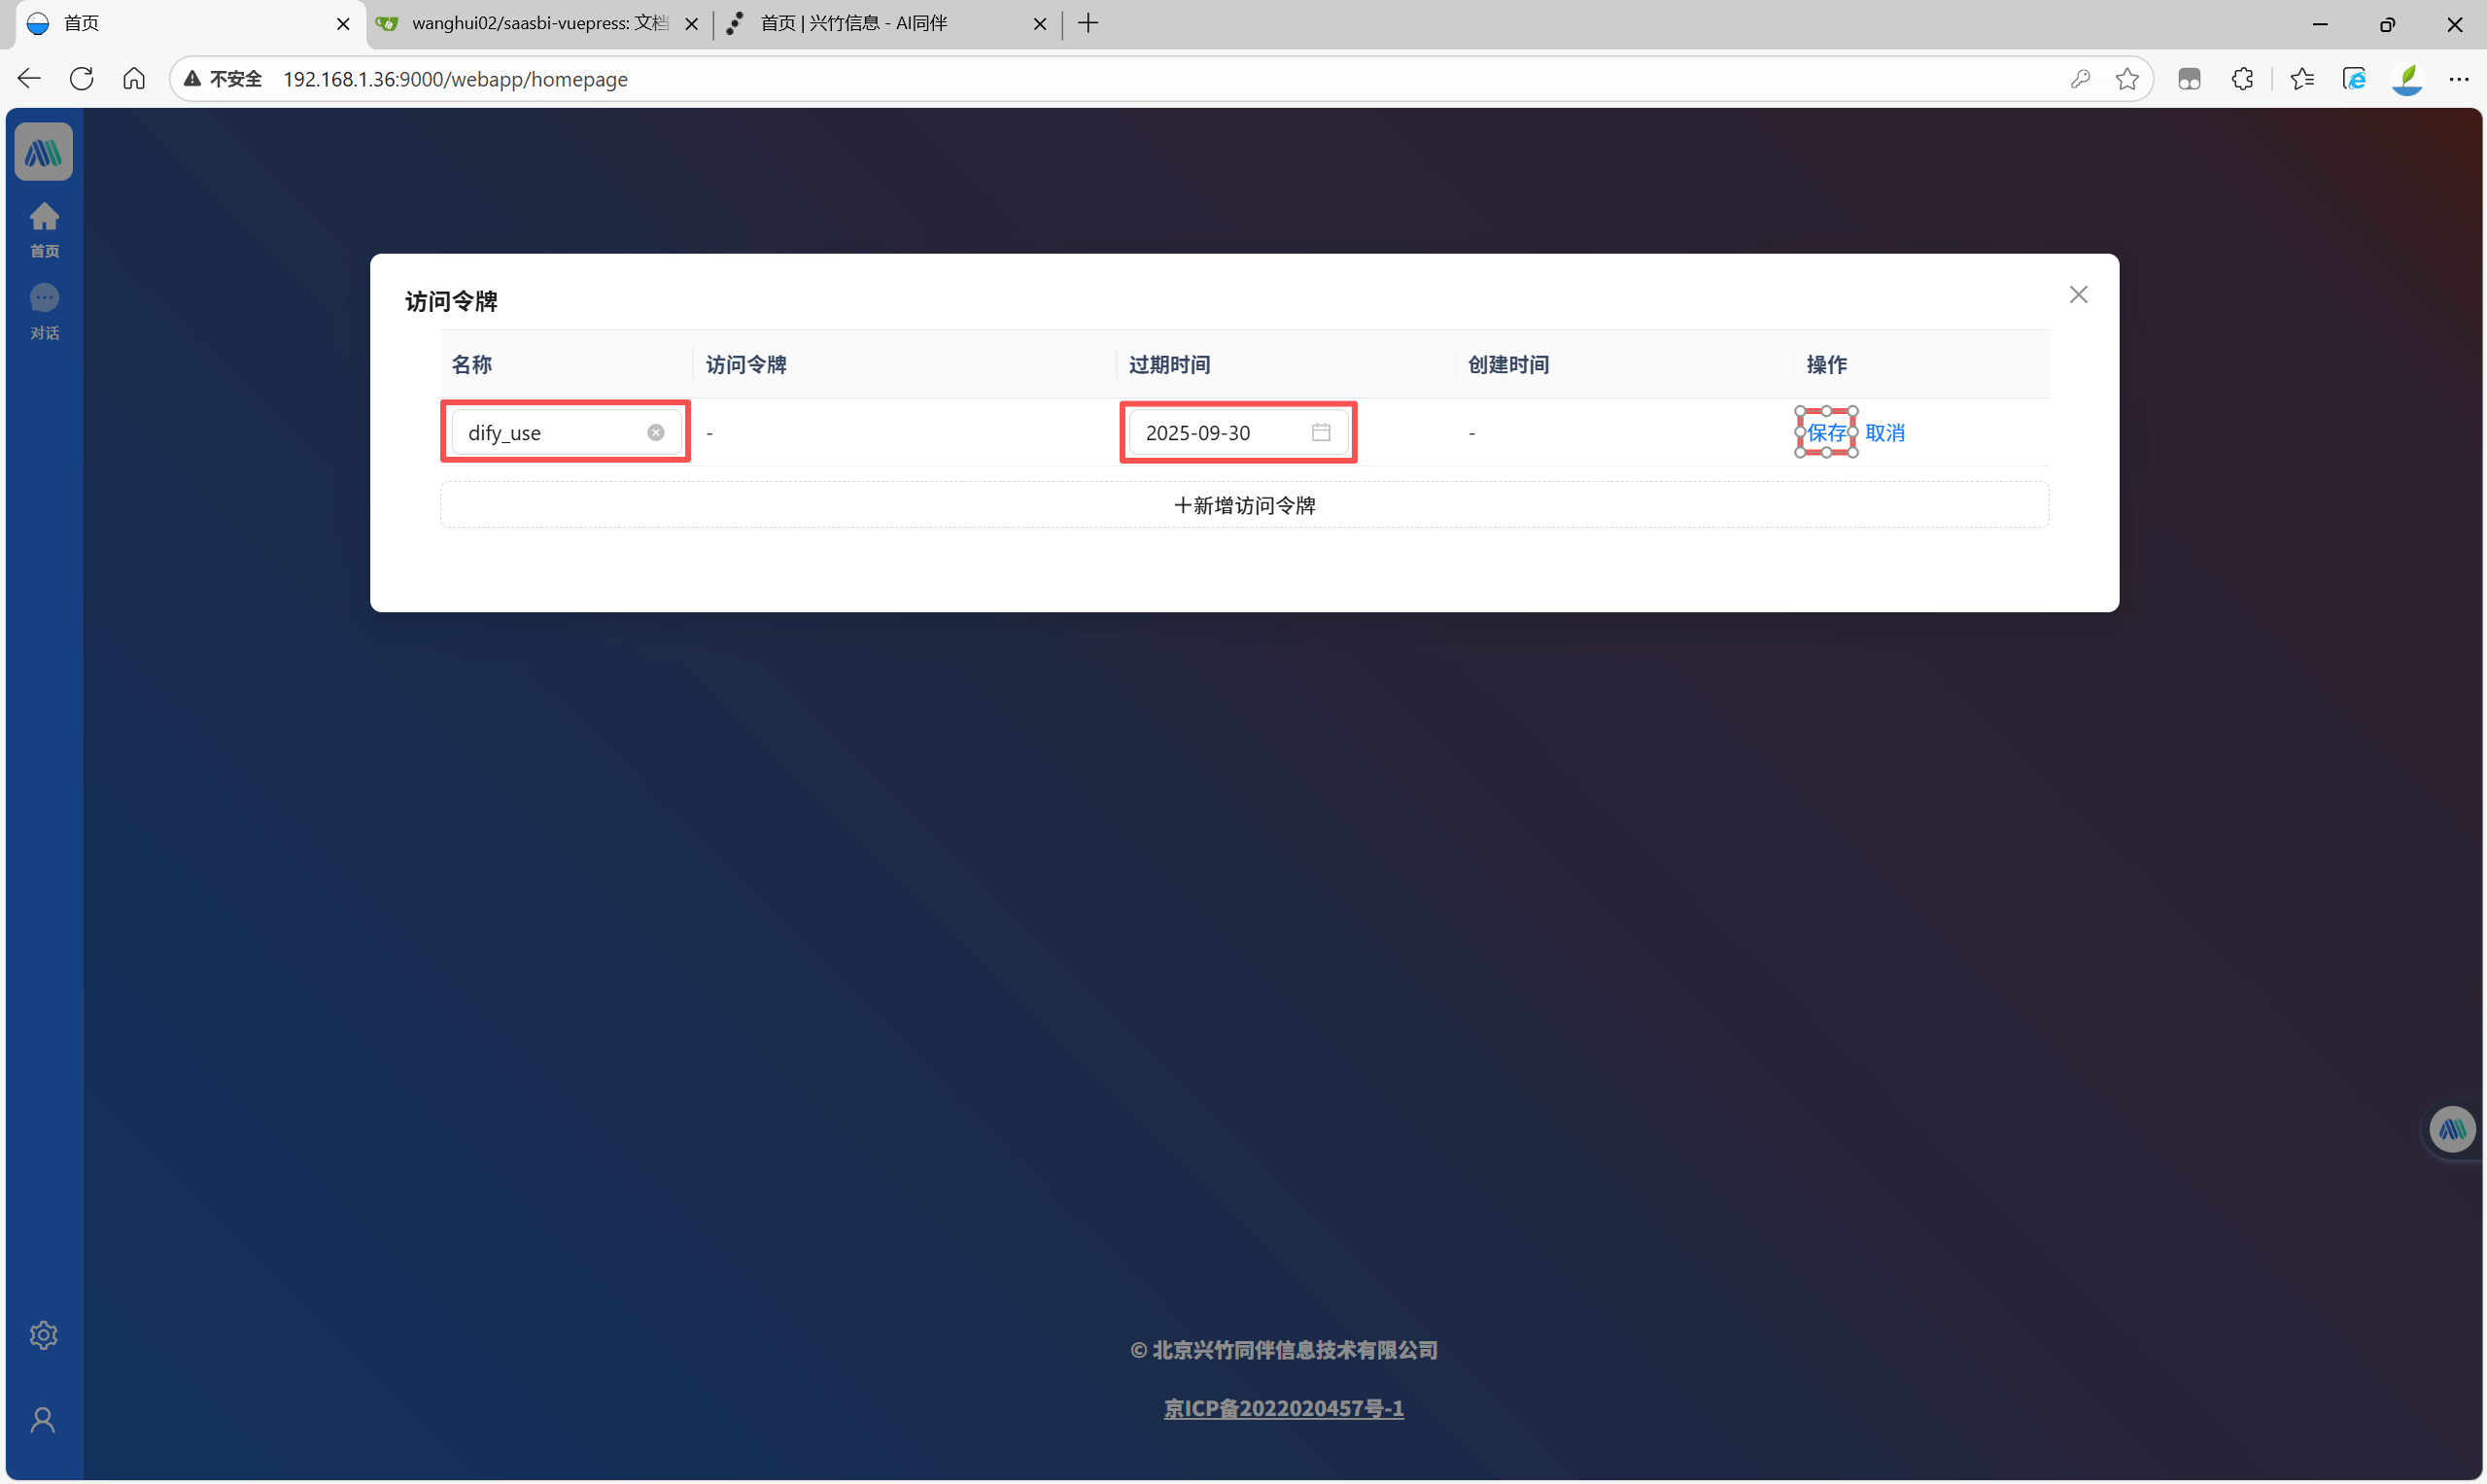
On the Add Access Token page, enter the token name and expiration time, then click the "Save" button.
Generate Invitation Code
Invitation Code
- The invitation code must be used together with the organization code and is only used for invited users to join the organization where the inviter is located.
- To ensure enterprise data security, please keep the invitation code properly and do not disclose it to untrusted personnel.
Invitation Link
- Copy the invitation link content and open it in a browser to automatically redirect to the login page.
- Invited users still need to register an account.
- After successful registration, the system will automatically bring in the invitation code and organization code information, no need to enter manually.
Click the user icon in the bottom left corner of the page and select "Generate Invitation Code".

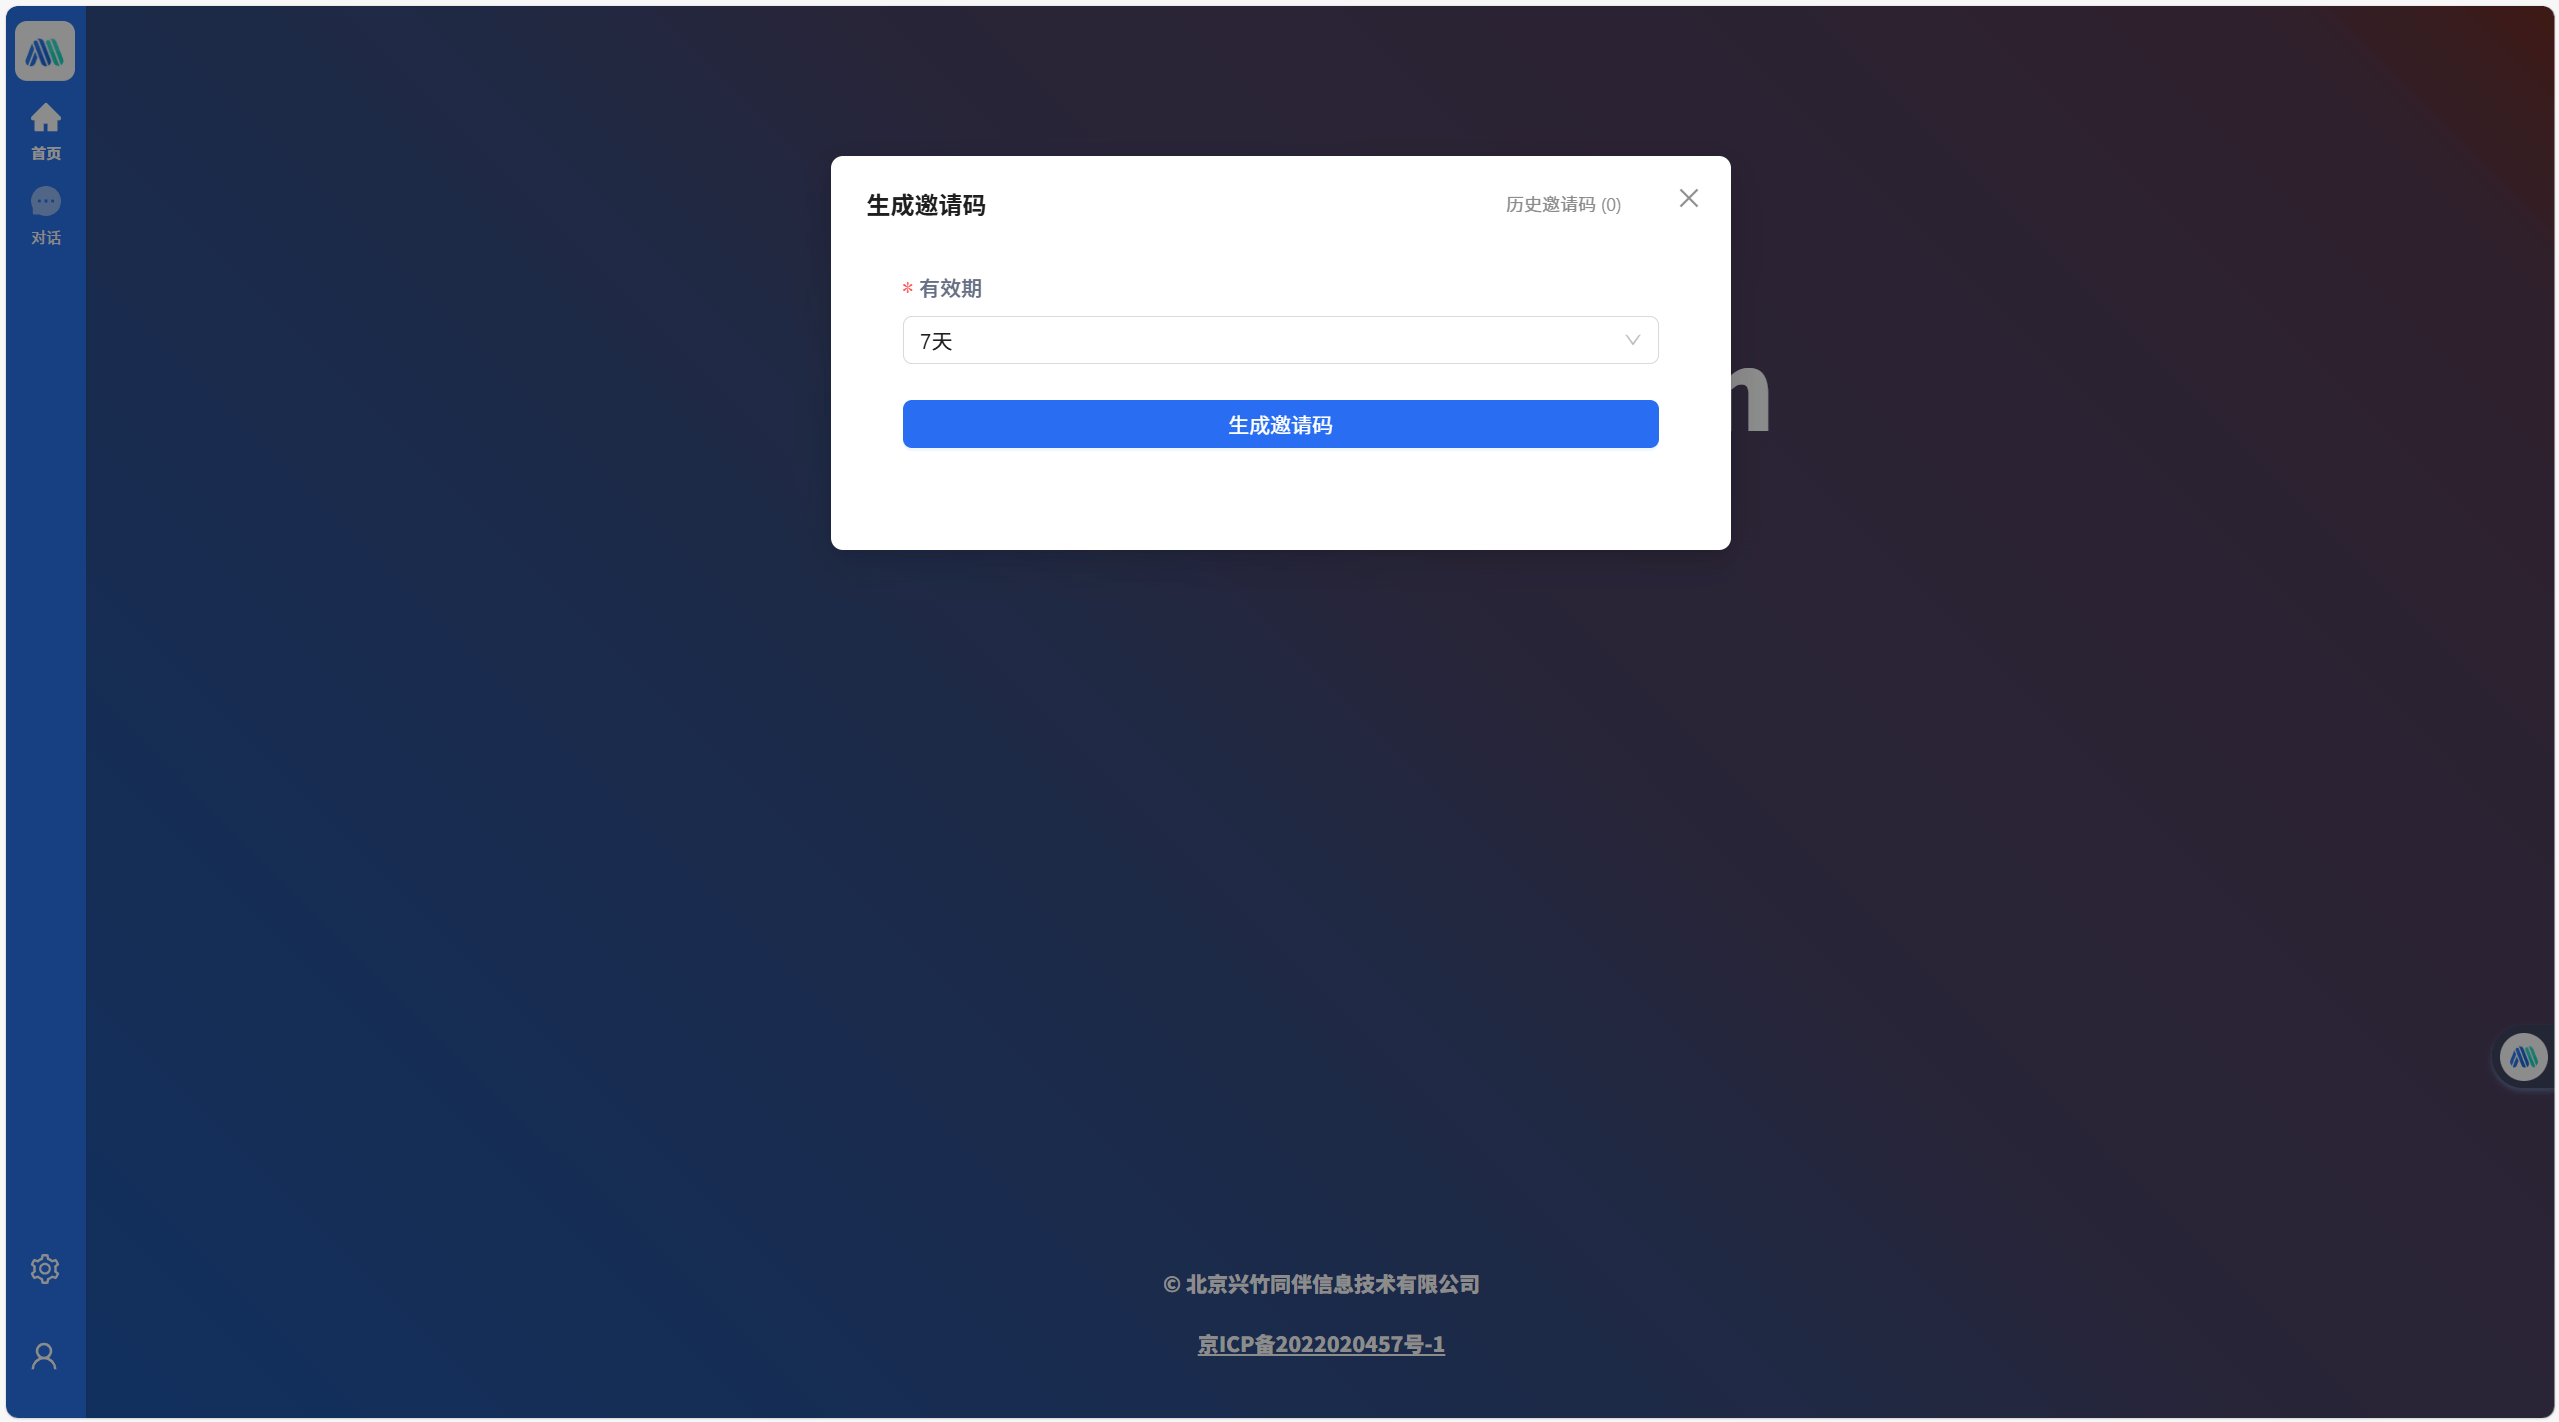
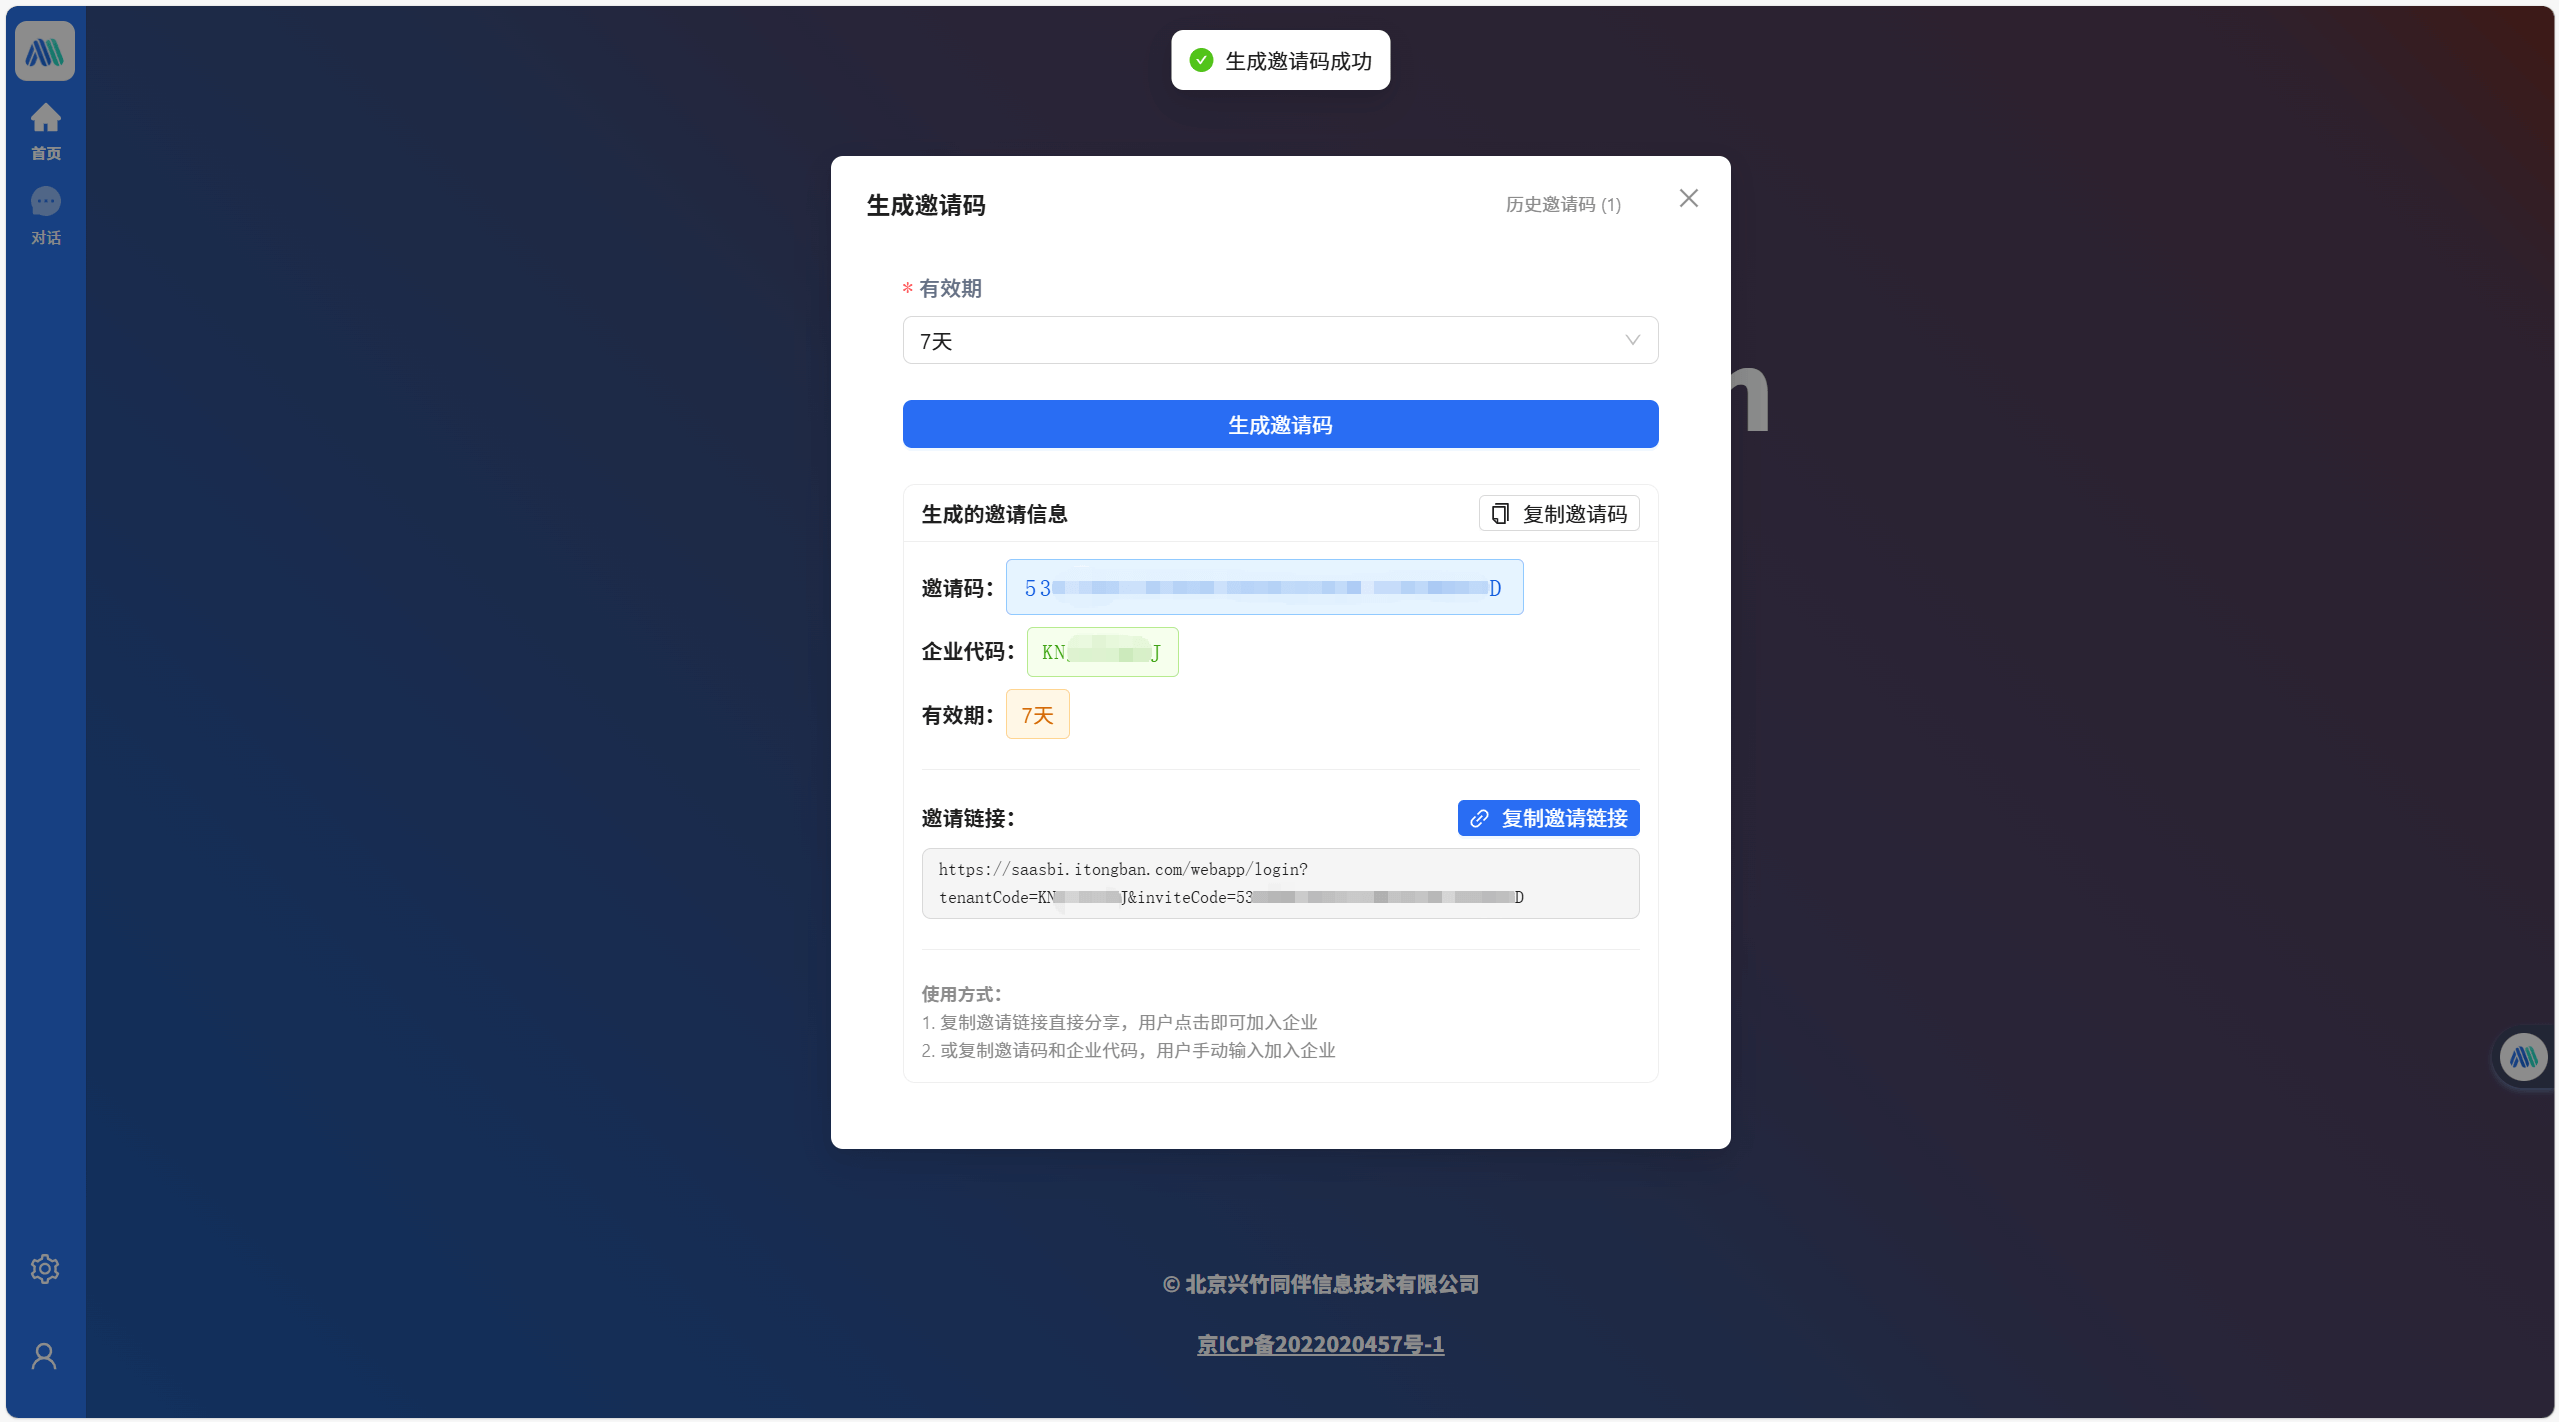
On the Generate Invitation Code page, select the validity period and click the "Generate Invitation Code" button.
On the Generate Invitation Code page, you can directly click "Copy Invitation Code" or "Copy Invitation Link" to send the content to users who need to join the organization.
For invited users to join the organization using the invitation code, please refer to step 3 of Create/Join Organization.
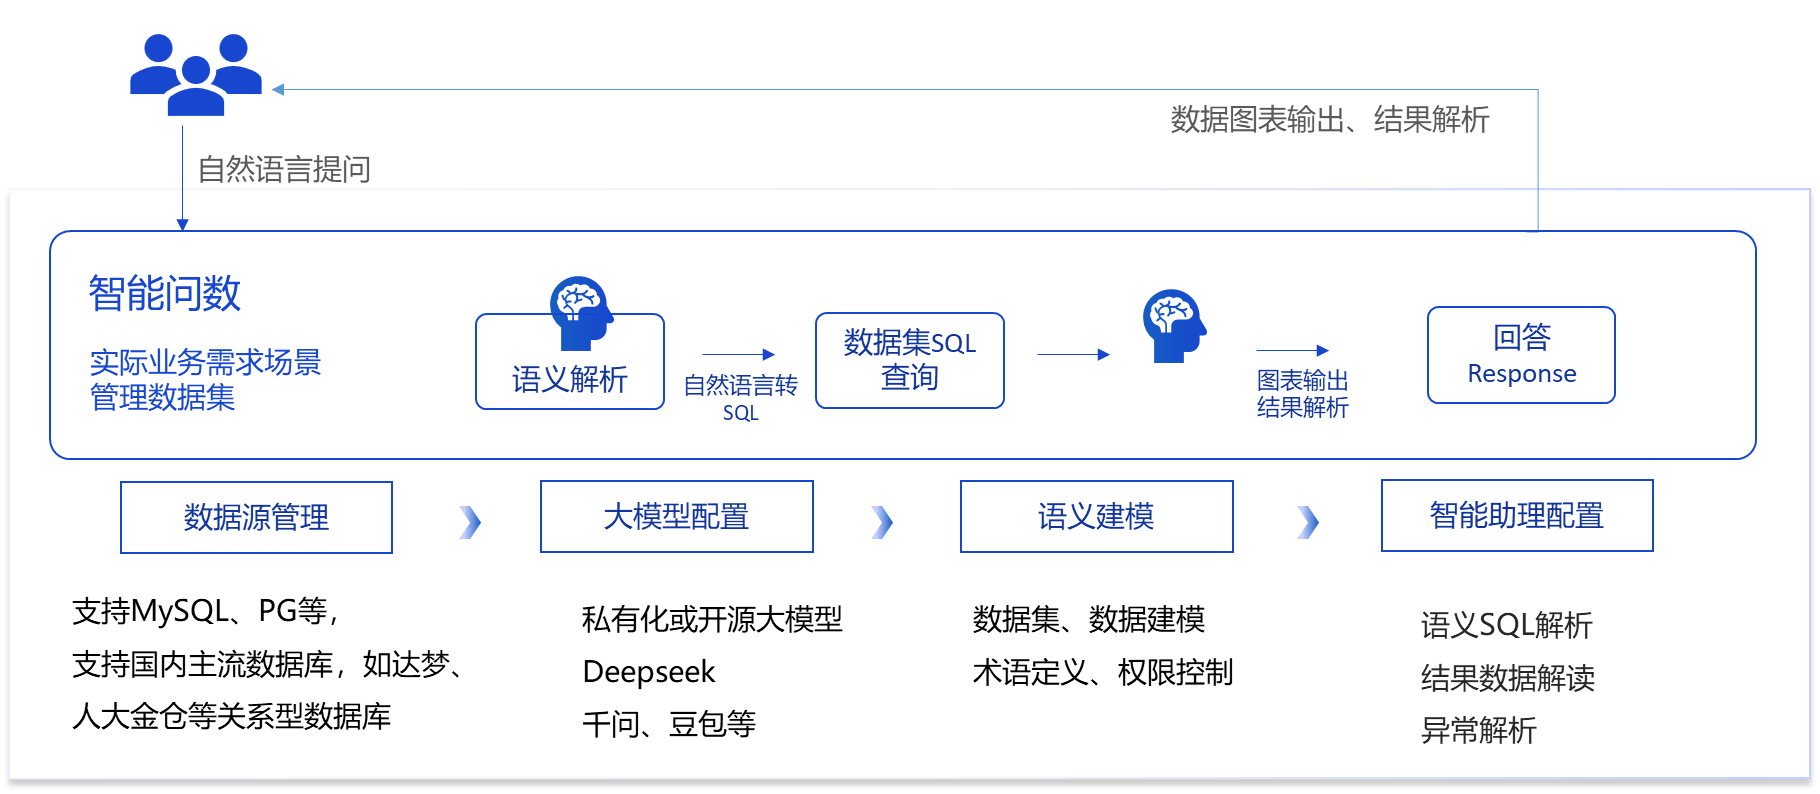
ChatBI Assistant Creation Process
Data Source Management Creation
Data source management is mainly about creating and managing database connections.
To create a database connection: Fill in the basic information, click Test Connection, and if the test is successful, it's done.
Currently supported data types: MySQL protocol databases, HANADB, PostgreSQL, ORACLE12, H2, etc., and it supports flexible expansion of other database types.
After creating a database here, not everyone can query the data linked to this database. Authorization is required on the form.
- Administrator: Users who can edit this database link.
- User: Users who can use this database link to query data.
Large Model Management Creation
The ChatBI plugin requires users to create a large model connection first to maximize the system's capabilities. Large model management is the function of adding, editing, and deleting large model connections, serving as a basic system management function. Currently, the AI used in the ChatBI plugin supports the two most popular large model connection protocols in the industry: OPEN_AI and OLLAMA, which can adapt to almost all large model services on the market.
On the "Large Model Management" menu page of the ChatBI plugin, you can create multiple large model connections, and later in "Assistant Management", you can select different large model connections for different assistant applications according to scenario needs.
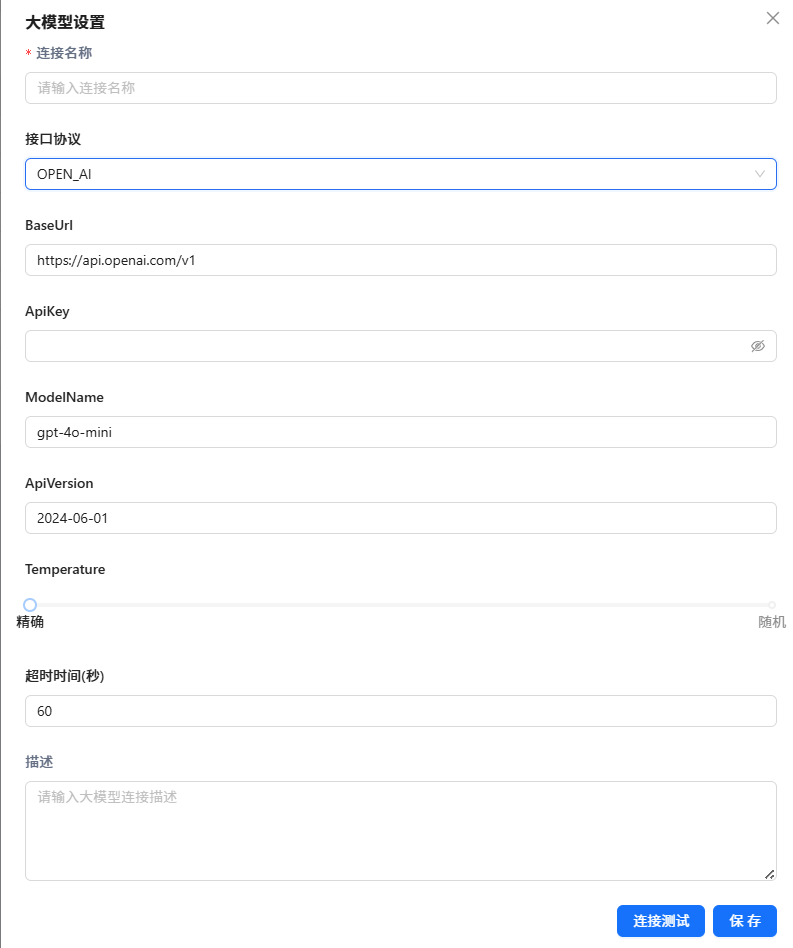
Create Large Model Connection
According to the deployed or provided large model interface protocol, fill in the content on the create large model form page, click Connection Test, and if it prompts that the connection test is passed, the configuration is complete, and you can save it.
Domestic Open Source Large Model Services
The following are the privately deployable commercial large model services we have verified, all connected through the OPEN_AI protocol, as shown in the table below:
| Provider | API Service URL | Recommended Model |
|---|---|---|
| Alibaba Cloud | https://dashscope.aliyuncs.com/compatible-mode/v1 | qwen-max |
| DeepSeek | https://api.deepseek.com | deepseek-chat |
| Volcano Engine | https://ark.cn-beijing.volces.com/api/v3 | moonshot-v1-8k |
The following are the open-source local large models verified by the system, all connected through the OLLAMA protocol, as shown in the table below:
| Open Source Provider | OLLAMA Model Image |
|---|---|
| Alibaba Cloud | qwen2:7b, qwen2.5:7b |
| Meta | llama3.1:8b |
| DeepSeek | deepseek:32b |
Semantic Model Creation
Database(Subject Area) -> View(Dataset) -> Table(Data Model) -> Column(Metric/Dimension)
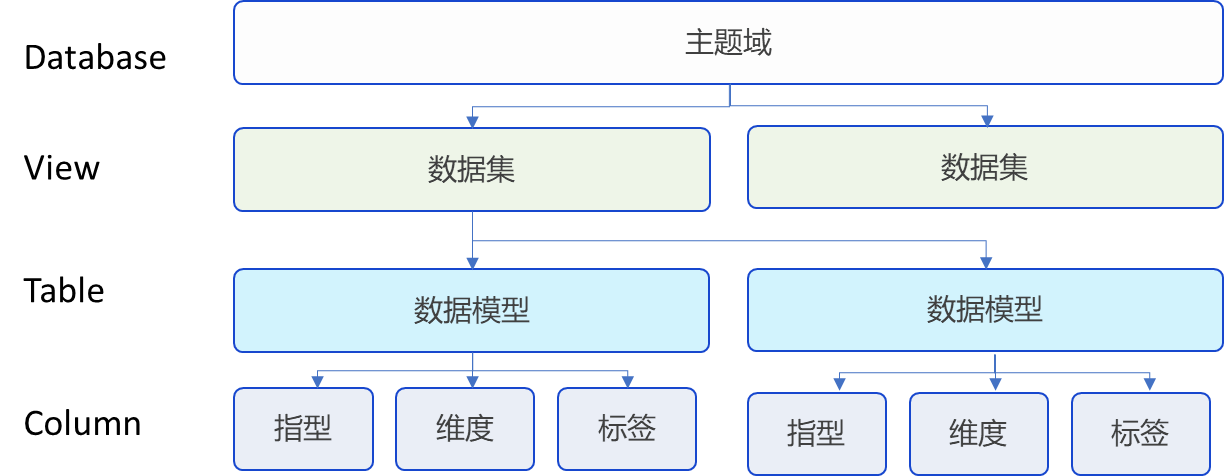
Subject Area: A subject area can be understood as a classification concept. Users can divide subject areas according to their business scenarios. Concepts such as data models, datasets, and terms all belong to a subject area.
Data Model: A data model is a logical abstraction of data in a database. It can directly refer to a physical table or be created by a section of SQL logic. After obtaining a physical table or a section of logical SQL, we can designate the header fields as primary keys, dimensions, measures, time dates, or ordinary fields. When all header fields are given these specific semantics, a data model is formed.
Primary Key: The concept of primary key in the ChatBI plugin is not exactly the same as the primary key in the database. After creating multiple models, if you need to specify the association relationship between models, which is commonly known as the Join method, you can do so by specifying the primary key.
Dimension: Dimensions refer to fields in tables that are usually used for grouping and filtering.
Measure: The concept of measure is exactly the opposite of dimension. They are usually numeric fields used to express the degree of objective phenomena. Measures are mainly used to create specific indicators and have no other substantial functions.
Indicator: It is a more specific and instantiated concept relative to measures. Users can create indicators based on measures, fields, or existing indicators and manage them. At the same time, the created indicators can be reused in Q&A.
The semantic engine builds data models based on configured data sources, including the following three steps:
- Data Subject Area
- Dataset Management
- Model Management
1. Data Subject Area
The left part 1 of the semantic engine page displays data subjects. You can click Search to search for data subjects, and click the Add "+" icon to add a new data subject. Select a subject, hover the mouse over the subject to display Edit Data Subject and Delete Subject buttons, and click to perform the corresponding subject editing and deletion operations.
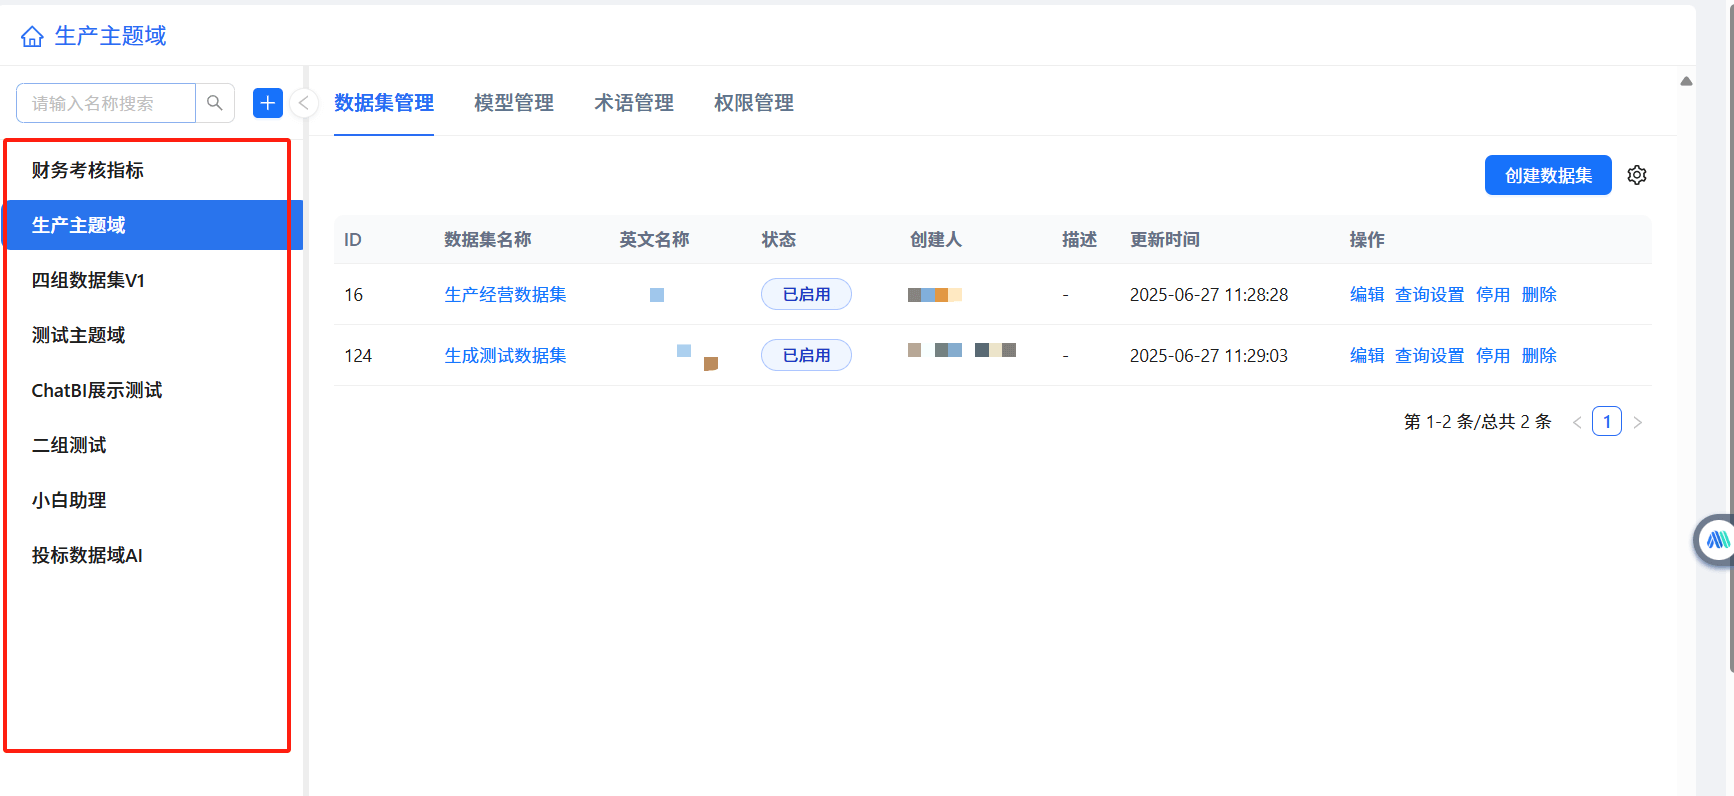
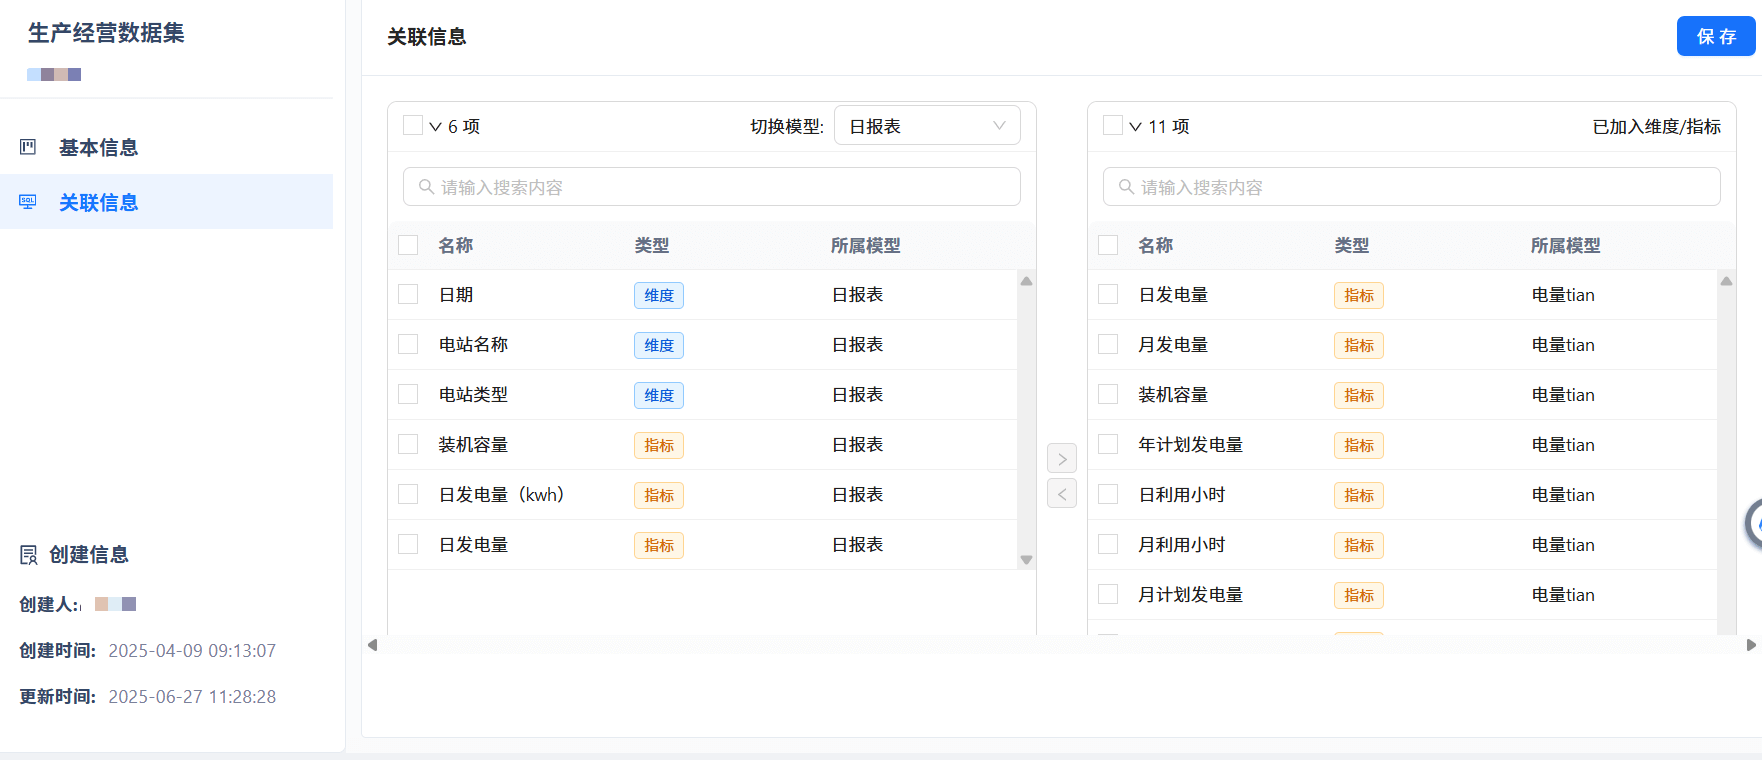
2. Dataset Management
Select a data subject area, and in the dataset management on the right, manage datasets under that subject area. You can add datasets by clicking the Create Dataset button, and you can also edit, set queries, disable, and delete existing data. After creating a dataset, it must be associated with a data model.
3. Model Management
Data model management can be displayed in a list or through a canvas for graph display. On the list display page, you can add, edit, disable, and delete models.

ChatBI Assistant Management Creation
Assistant configuration includes two types: ChatBI Assistant (i.e., Intelligent Q&A Assistant) and Agent Workflow Assistant. Among them, ChatBI Assistant is an intelligent Q&A assistant based on semantically modeled datasets, and Agent Workflow Assistant manages published agent applications and can directly call published agent applications on the conversation page.
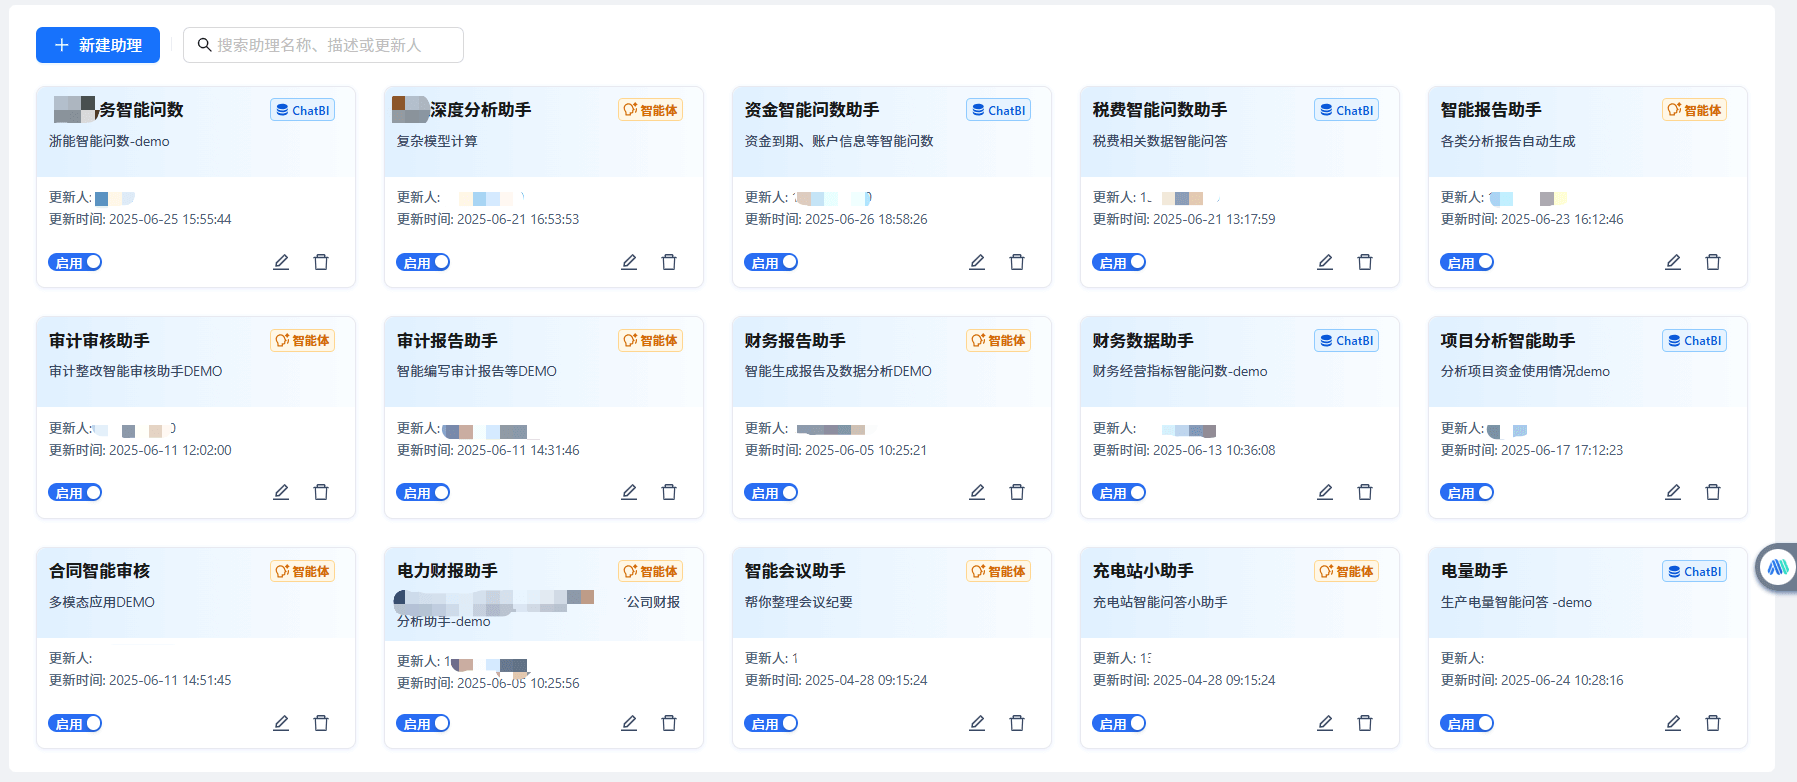
ChatBI Assistant
The configuration of ChatBI Assistant (i.e., Intelligent Q&A Assistant) is mainly divided into three parts:
- Basic Information Configuration
- Large Model Application Configuration
- Tool Configuration
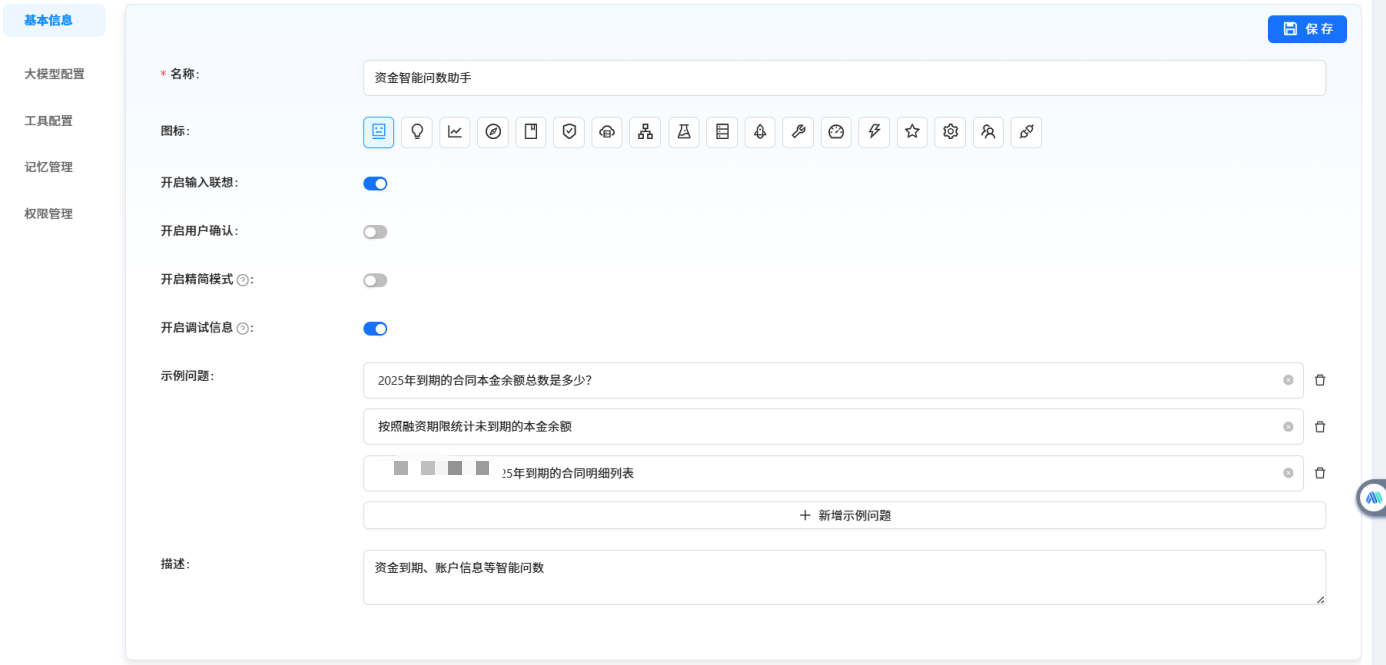
1. Basic Information Configuration
Complete the content according to the basic information configuration form page. The name and icon are required, and others are optional.
2. Large Model Configuration
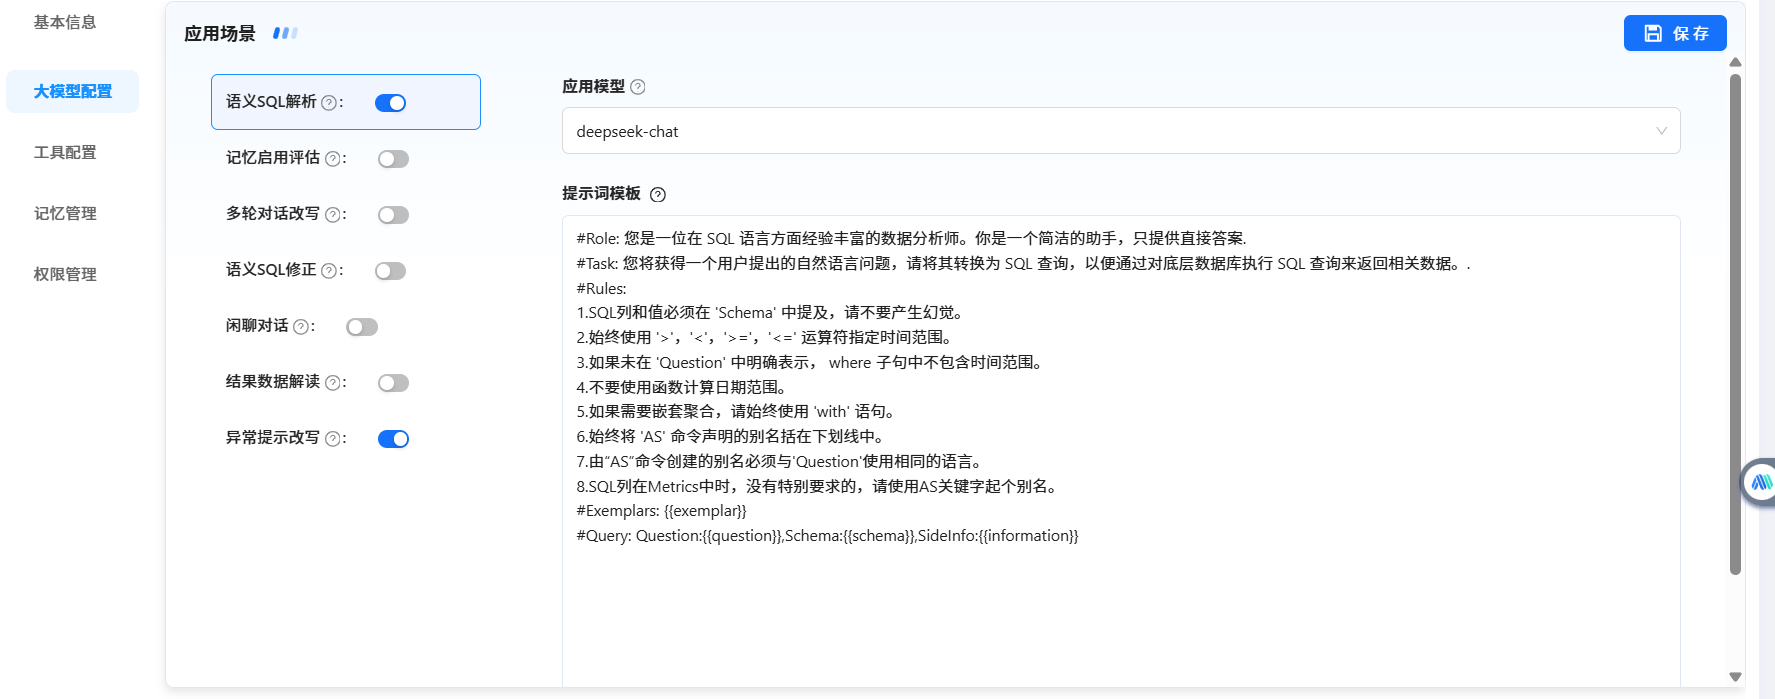
On the large model configuration tab, you can select different large model connections for the intelligent assistant in different application scenarios and modify prompts. The large application scenarios include the following 7:
Tips: Pay attention to the application scenario switch and turn it on or off according to actual needs. For intelligent Q&A, you must turn on the semantic SQL parsing switch and configure the application model.
The chat conversation and semantic SQL parsing switches are mutually exclusive.
You can add to the system default prompt template, but try not to modify the system default prompt content.
3. Tool Configuration
Currently, there are two types of tools: Text2SQL datasets and third-party plugins. If you want to enable Q&A based on datasets, you must have the corresponding Text2SQL dataset tool; third-party plugins meet specific scenario needs.
Tips: For intelligent Q&A, you need to select the Text2SQL dataset tool, and the dataset must select one or more datasets that need Q&A. Only one third-party plugin can be selected.
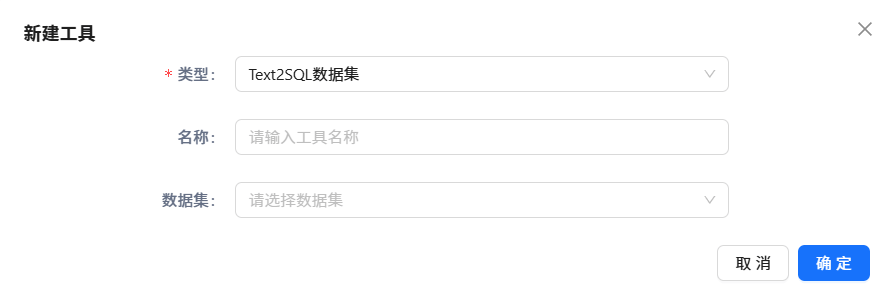
Select the dataset as the semantic model involved in ChatBI plugin Q&A.